

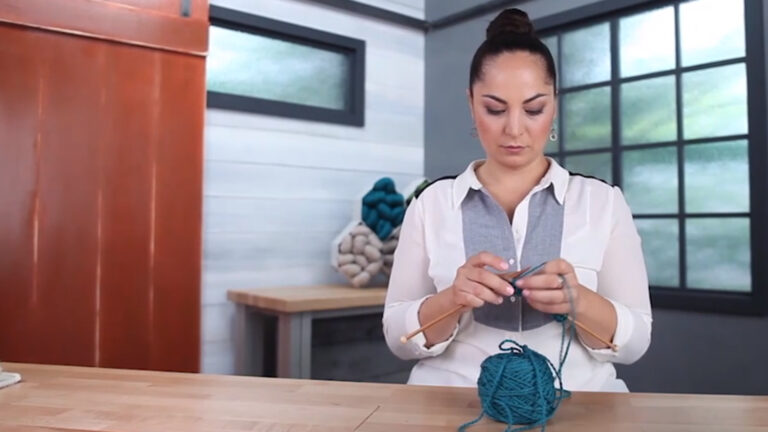
Fall Knit-Along 2016: Accessories
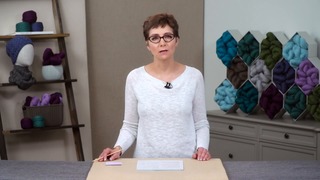
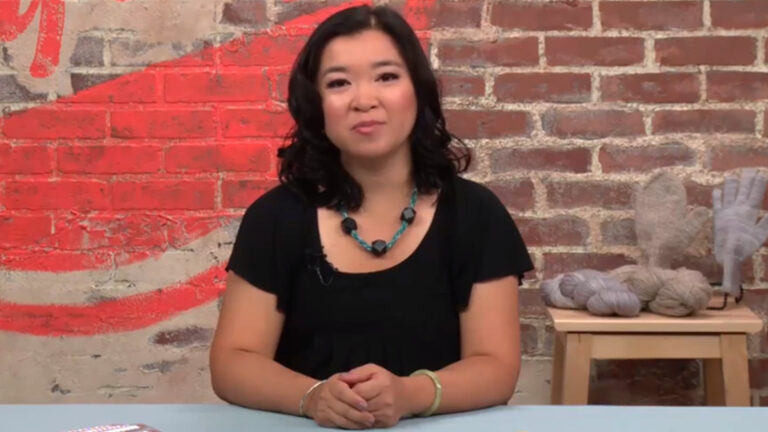
Kate Atherley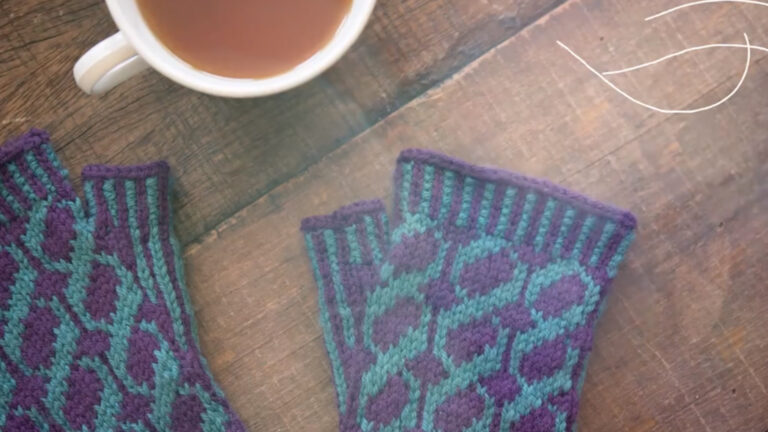
Class Preview
2:08:48
- In-depth Instruction; over 129 mins
- On-demand video access anytime
- Bonus downloadable PDF resources
- Access to class Q&A
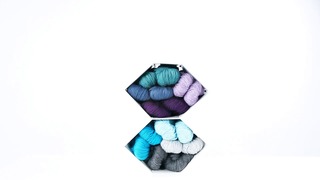
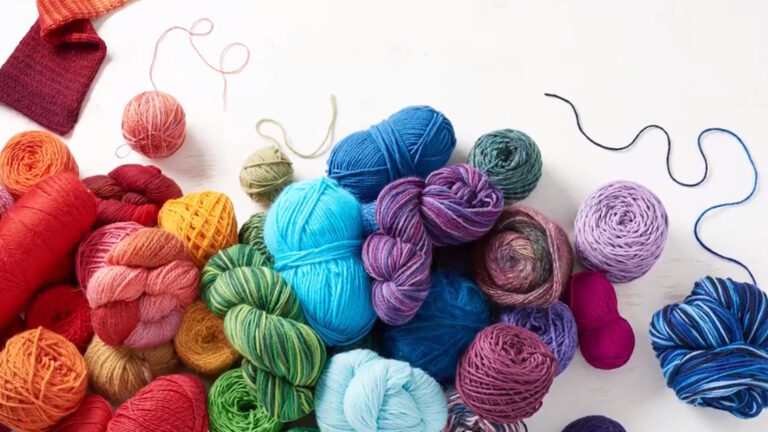
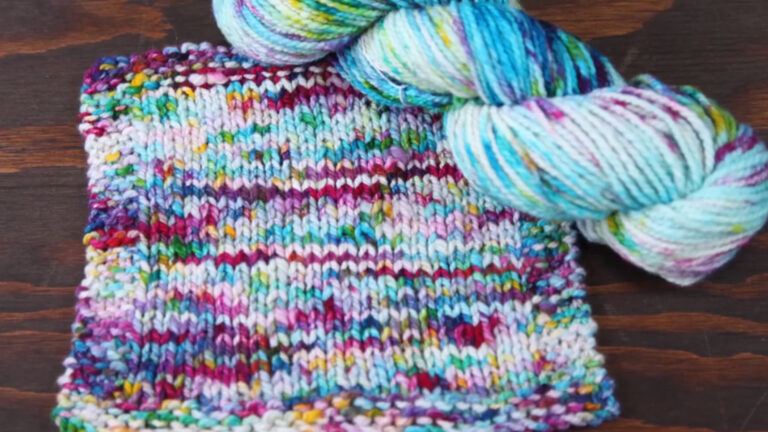
Gathering Your Supplies
0:46
Kick off class by learning about the yarn you can use to create your cowl, hat and fingerless mittens.
About the Knit-Along
4:36
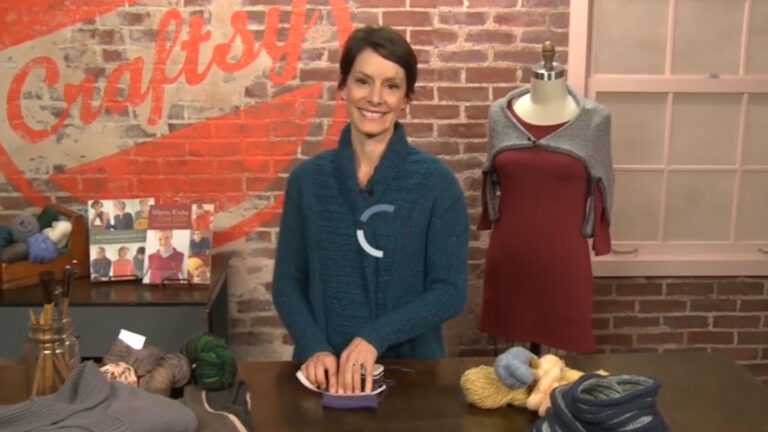
Meet Kate Atherley and get a closer look at how this free knit-along class works. Then, Kate will review the beautiful knit projects you'll learn to make.
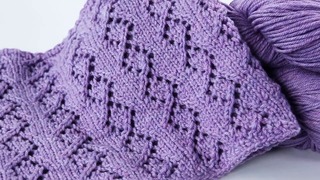
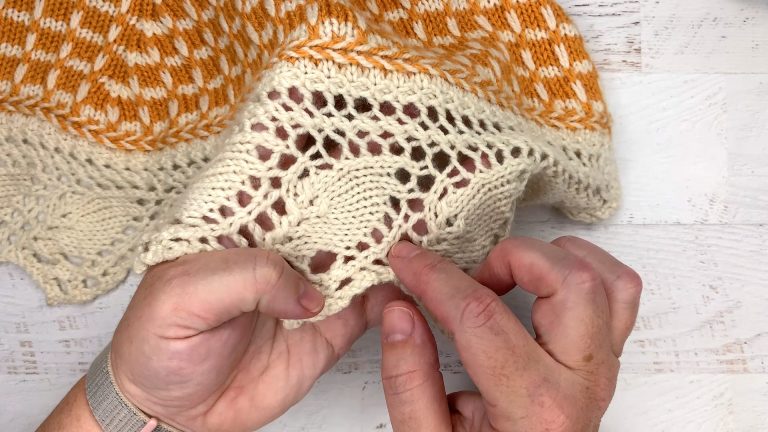
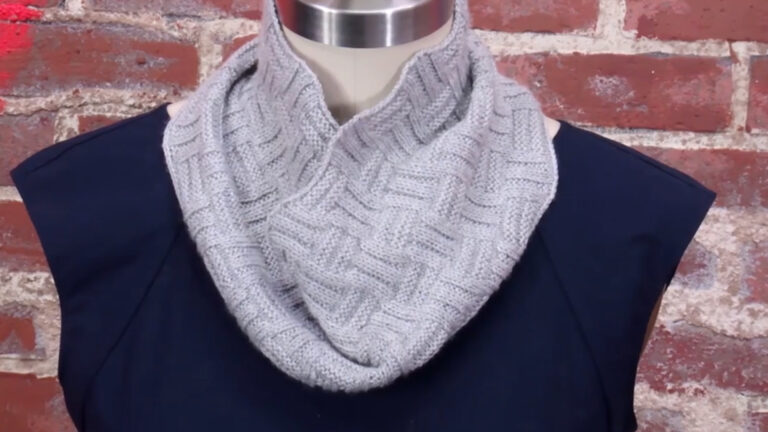
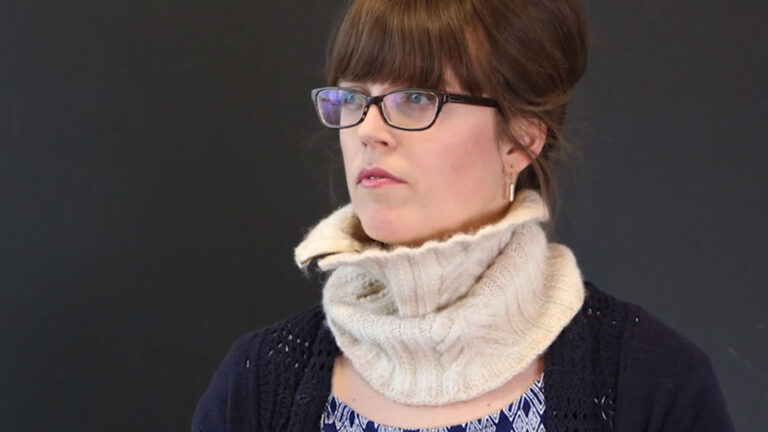
Starting the Lace Cowl
24:46
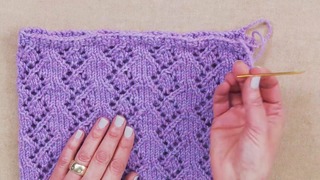
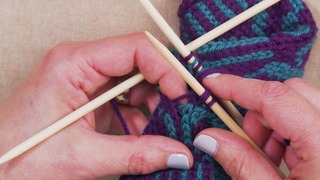
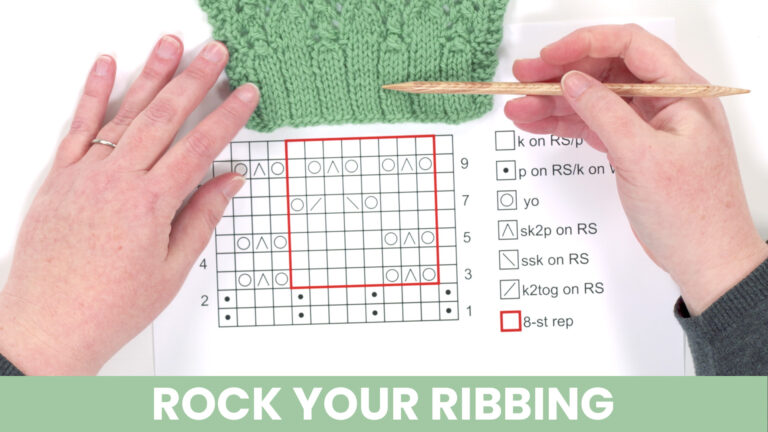
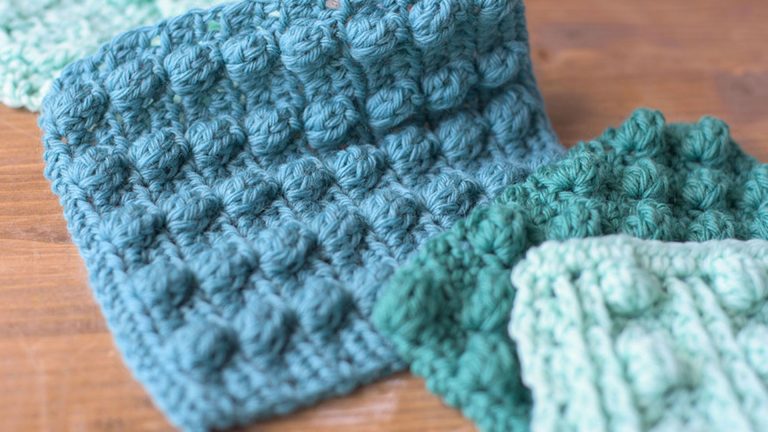
Dive into the first knit accessory, a lovely lace cowl. You'll learn a versatile cast-on and become comfortable reading lace charts and working lace with decreases and yarn overs.
Completing the Lace Cowl
18:31
To complete your cowl, Kate will show you the flexible Russian lace bind-off that makes it easy to slip the accessory on and off. Then, you'll see how to block your lace to perfection, and Kate will give you some fun homework so you can start making your cabled hat as soon as the next month's lessons are released.
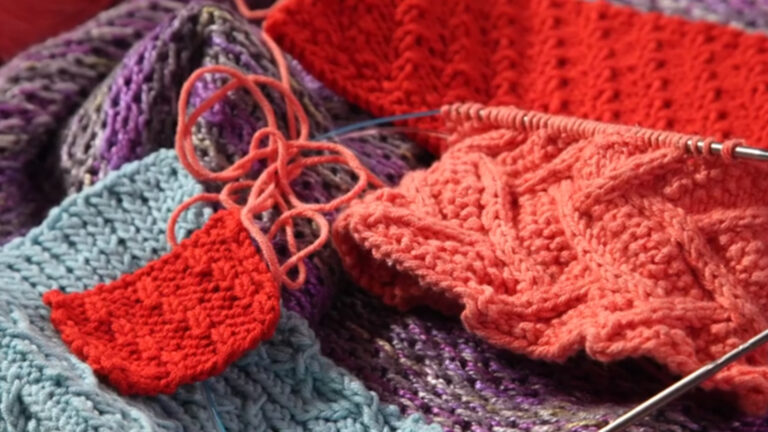
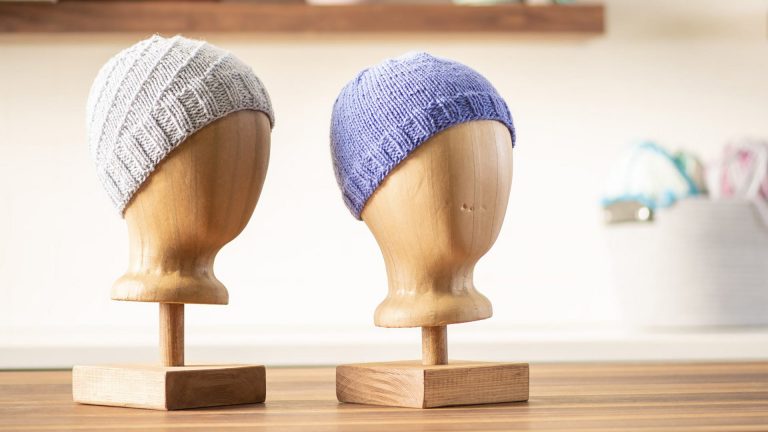
Starting the Cabled Hat
16:27
In the second month, you'll learn to make a beautiful hat. Kate will share tricks for using a cabling needle after taking a deeper look at cable charts.
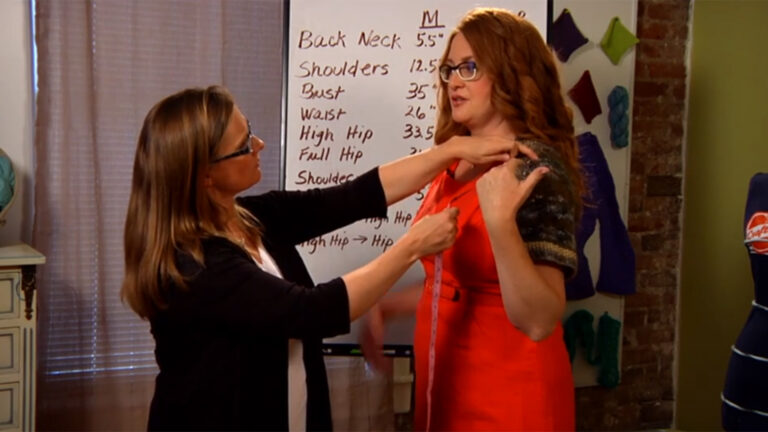
Completing the Cabled Hat
17:59
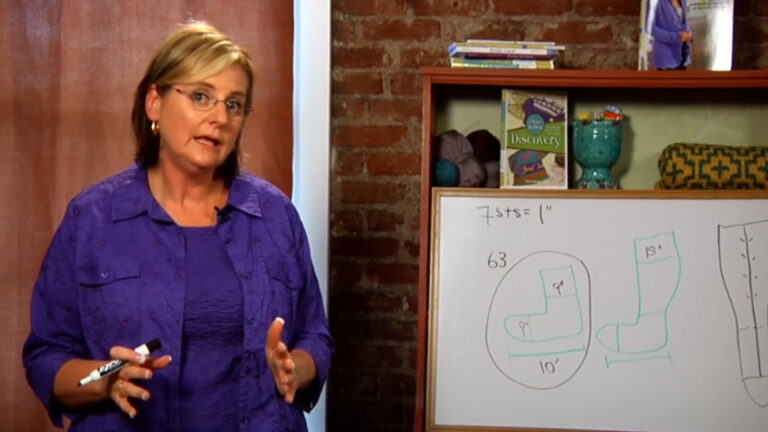
Switch things up by using double-pointed needles to work decreases in the crown of the hat as you continue the cabled pattern. Next, Kate will show you a tip for blocking using a balloon! Plus, you'll discover how to measure for the fingerless mittens you'll be starting in the next set of lessons.
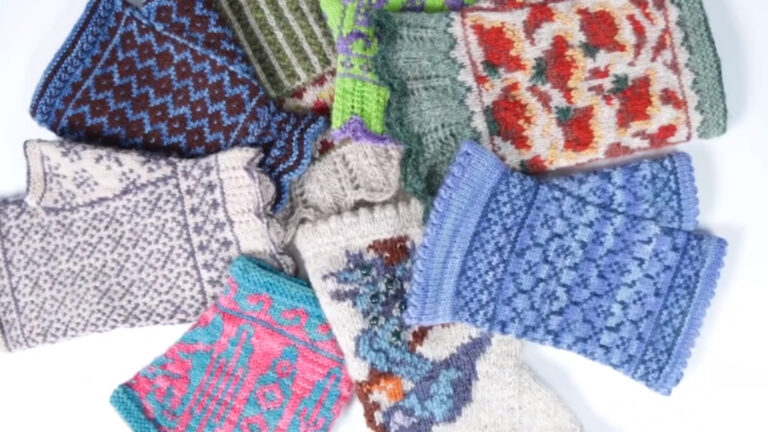
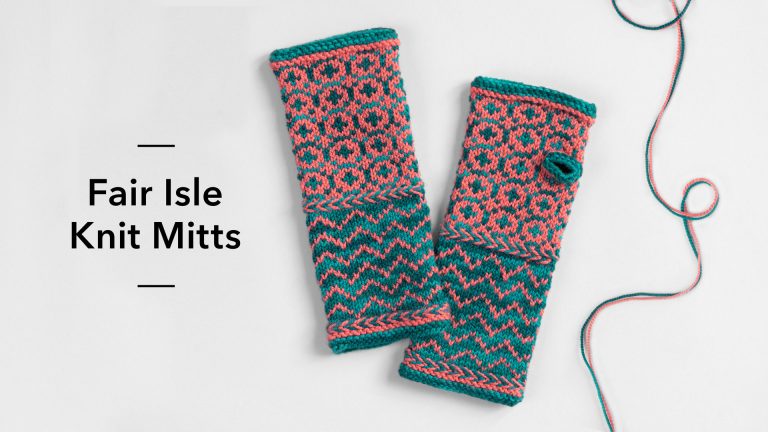
Starting the Colorwork Fingerless Mittens
20:49
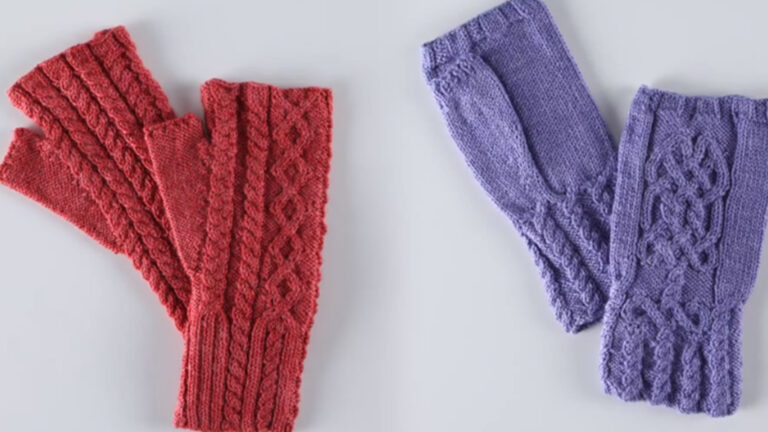
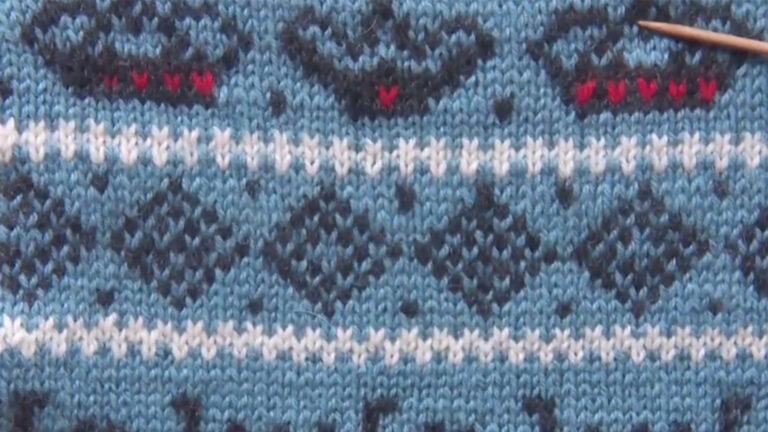
For the last month of the knit-along, you'll make a pair of cozy fingerless mittens. Kate will walk you through managing two colors at a time with stranded knitting and show you how to hold the yarn to suit your knitting style.
Completing the Colorwork Fingerless Mittens
24:54
In the final lesson, you'll create a well-fitting thumb for your fingerless mittens before Kate shows you techniques to achieve a polished finish.
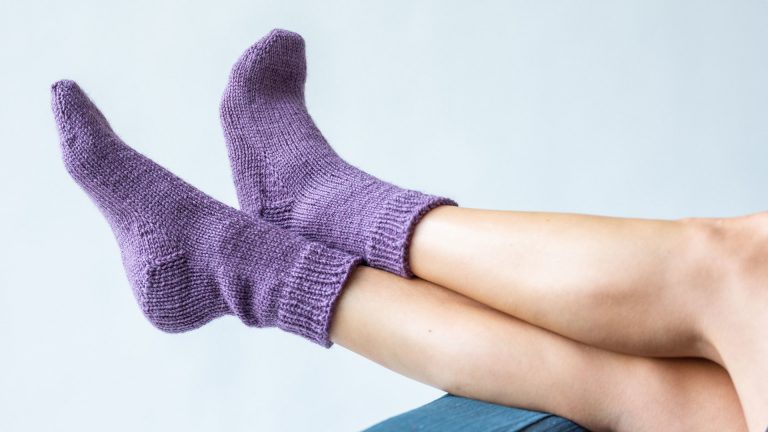
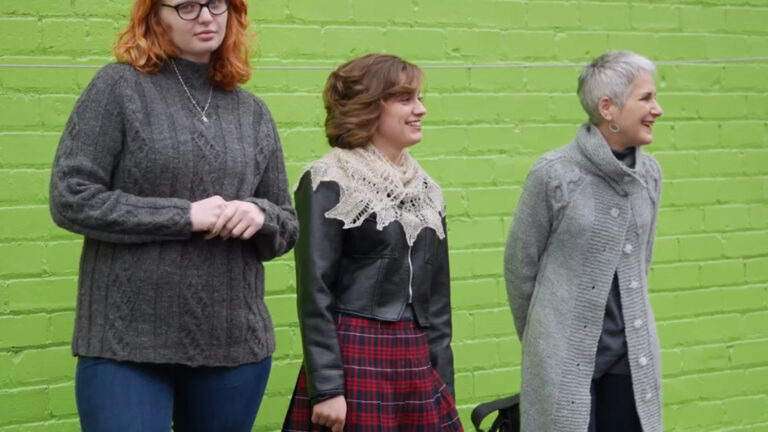
Create three charming accessories to gift or keep for yourself. Knit along with designer Kate Atherley to make a cabled hat, a lacy cowl and a pair of colorful mitts.
Note: Kits are no longer available, but you can still knit along with Kate using your own yarn and the included patterns.
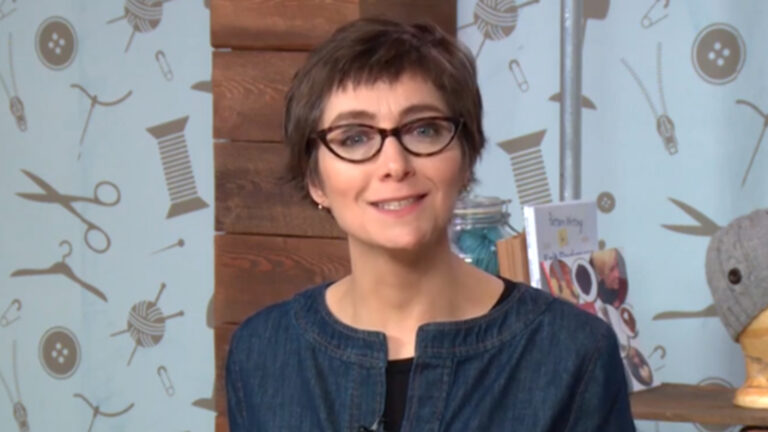
Kate Atherley
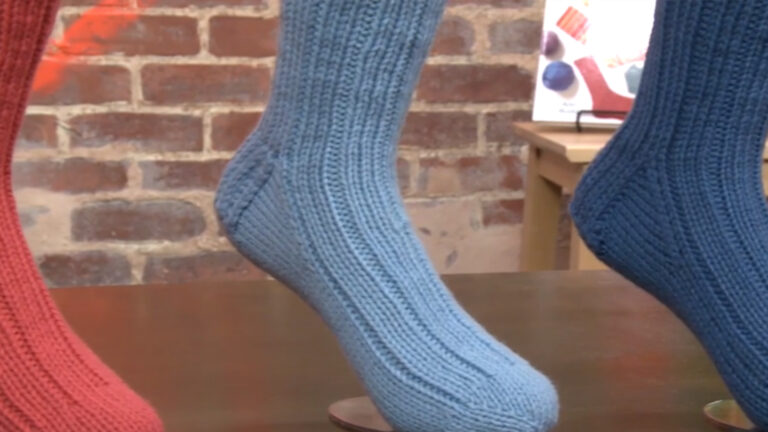
Kate Atherley learned to knit at a young age from her immensely talented grandmother, Hilda. However, her immersion in knitting didn't take full hold until after university, when she found herself with lots of spare time and a yarn shop around the corner. Kate started with knitting socks, then designing socks, and today, she's a knitting teacher, designer, technical editor and author. Her books include "Beyond Knit & Purl" and "Knit Accessories: Essentials & Variations."
Share tips, start a discussion or ask one of our experts or other students a question.
Already a member? Sign in
9 Responses to “Fall Knit-Along 2016: Accessories”
What is the “Purchase” option all about?
If I’m a paid Premium or Gold Member of Craftsy, do I need to purchase the Class to have access?
How do I know what the Class covers?
Do I have to be a Member of Craftsy to purchase a Class?
How do I “Purchase-to-Own” a Class?
How do I access/view my Class?
Is there a limit on the times I can view my Class?
Can I view a Class on my tablet device or mobile phone?
How do I get access to the Bonus Materials for the Class?
How does the Class Discussion benefit work?
Can I print out Class Bonus Materials?
Are there any system requirements to view the Class video content?
Can I get a refund if I don’t like the Class?
Explore classes by Kate Atherley


You may be interested in


Premium Membership
Unlock exclusive member content from our industry experts.
- 24/7 Access to Over 2,000 Premium Classes and Hundreds of Instructional Videos Across 20+ Categories
- Extensive Library of Downloadable Patterns and Recipes
- Stream and Download Classes Anywhere with the Craftsy App
- Share Your Membership with up to 3 Friends or Family Members
- Access to Ask the Expert Program
- Admission to Exclusive LIVE Streaming Virtual Events
Unlock exclusive member content from our industry experts.
- 24/7 Access to Over 2,000 Premium Classes and Hundreds of Instructional Videos Across 20+ Categories
- Extensive Library of Downloadable Patterns and Recipes
- Stream and Download Classes Anywhere with the Craftsy App
- Share Your Membership with up to 3 Friends or Family Members
- 2 Full-Length Classes to Keep in Your Account for Life
- Access to Ask the Expert Program
- Admission to Exclusive LIVE Streaming Virtual Events
Gold Membership
$449 Value
Get everything included in Premium plus exclusive Gold Membership benefits.
- 24/7 Access to Over 2,000 Premium Classes and Hundreds of Instructional Videos Across 20+ Categories
- Extensive Library of Downloadable Patterns and Recipes
- Stream and Download Classes Anywhere with the Craftsy App
- Share your Membership with up to 3 friends or family members
- 8 Full-Length Classes of Your Choice to Keep in Your Account for Life
- 10 Patterns, Guides, or Recipes of Your choice to Download to Your Devices
- 20% off Purchase-to-Own Classes in the Craftsy Shop (Select Classes Only)
- Access to Ask the Expert Program
- Exclusive GOLD LIVE Virtual Events
I'm knitting the cowl. I have 88 stiches, based on the pattern, the third row says it requires 8 stiches, but in reality, it uses 9 since I have a K2tog. When I reach the end, it doesn't finish right, I don't have enough stiches to do a whole piece of the pattern. What I understand is: 3 first stiches as knit, k2tog (uses 2 stiches), yo (uses 1 stich), do another 3 knits = 9 not 8. I'm am missing something?
I had a question about yarn. I am trying to use another brand and I have a mc and a cc for the fingerless mittens. I think it is a DK weight; does that matter? If it does matter should I change needle size or number of cast ons. Also each ball of yarn is 50 GR 106 M. I'm not sure if that is enough for two mittens?
I knit my first row flat make an extra stitch which i knit together with the first stitch to close the round. If the cast on end is a bit longer just knit the first round with 2 threads which makes a nice sturdy edge and after all you can just cut it because its already woven in. But cut at the end so you can use for orientation inside the pattern
I might have missed it but do I take the first lifeline out and put it in at each new start of the pattern?
Love this pattern. I knitted the first glove with my mc in my right hand and the cc in my left hand and was consistent throughout that glove. Then I got idea that it might be more efficient to put the mc in my left and cc in my right. So, I knitted the second glove that way and I was consistent thoughout that glove. When I was finished, the second glove is bigger than the first.my question is..is size influenced by which yarn is on top. I can't understand why one glove is larger..all things being equal except I changed the position of yarn. The other explanation is i knitted looser on the second glove. Thanks for the great video.
I don't understand the fingerless mitt directions for the lower hand. It reads: "Next round: Working from chart, work Color Pattern 6 times around. Work as set until you have completed 1 full repeat of the pattern, and then work 5 more rounds." Does this mean that I work 6 rounds twice (1 through 6 on the chart, skipping 7 and 8) and then knit 5 rounds (1-5) or does it mean knit 6 rounds and then knit rounds 7 and 8 and then again rounds 1-8 and then 1-5? I'm really confused. Please help!
Is the Cloudborn yarn kit still available?
Since I have to do a larger size and I'm using 56 stitches - I don't come out with multiples of 8 on each needle - I ended up with 18 stitches per needle to get the right size. What do I do now about the chart work?
My hat is finished but it is about 3 sizes too big! How can I resize the pattern to fit a child's head?