
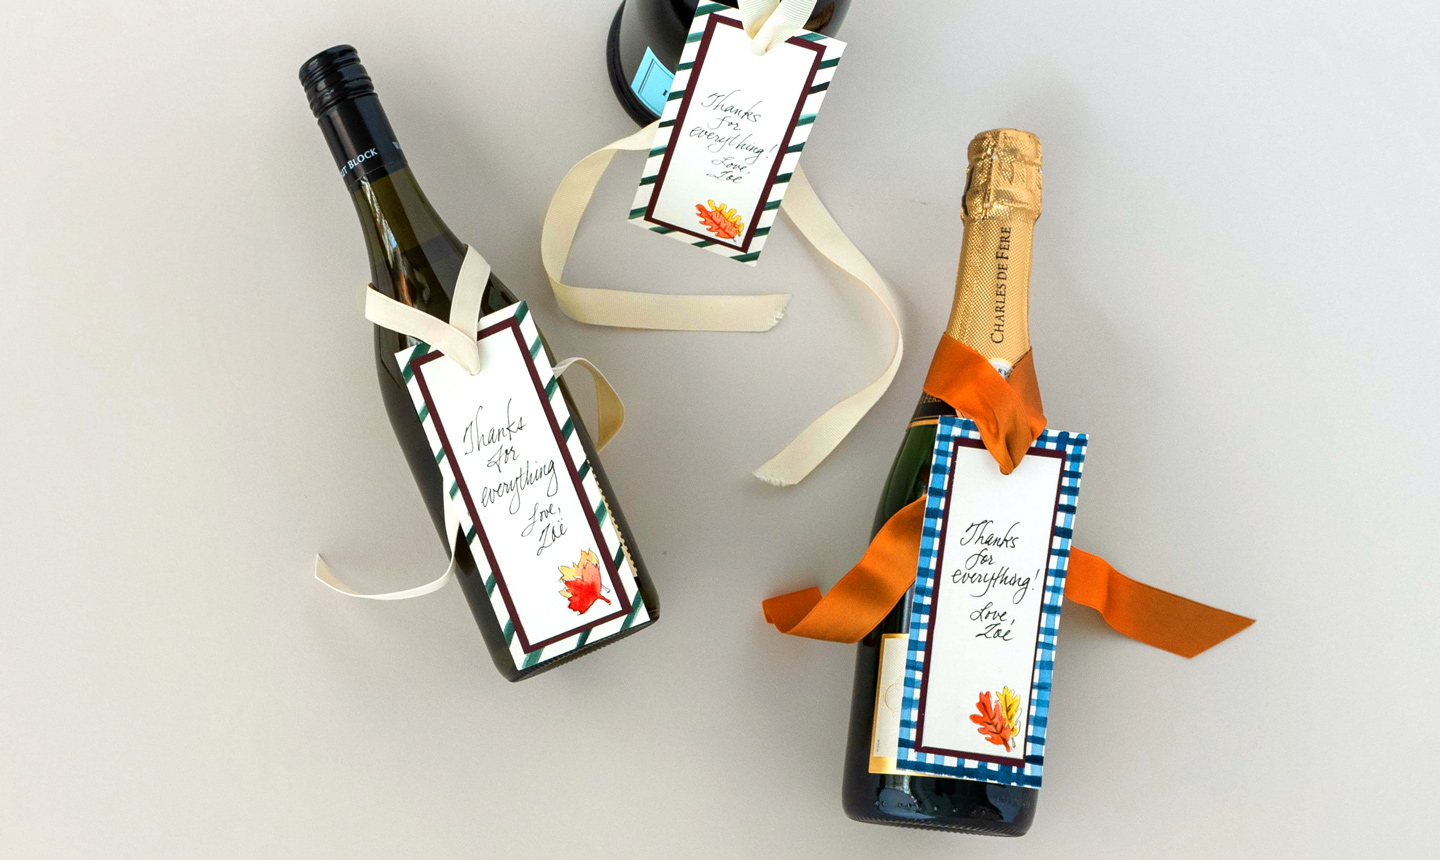
You gotta love this: DIY wine tags that combine your love of wine with your love of crafting. This project adds a personal, seasonal touch to any bottle of wine, whether it be a gift for a fall b-day or your contribution to the Thanksgiving table.
Follow these steps for a quick-and-easy single tag, or you can go all assembly-line and make a bunch at once to cover all your seasonal pours.
DIY Wine Tag
Level: Easy
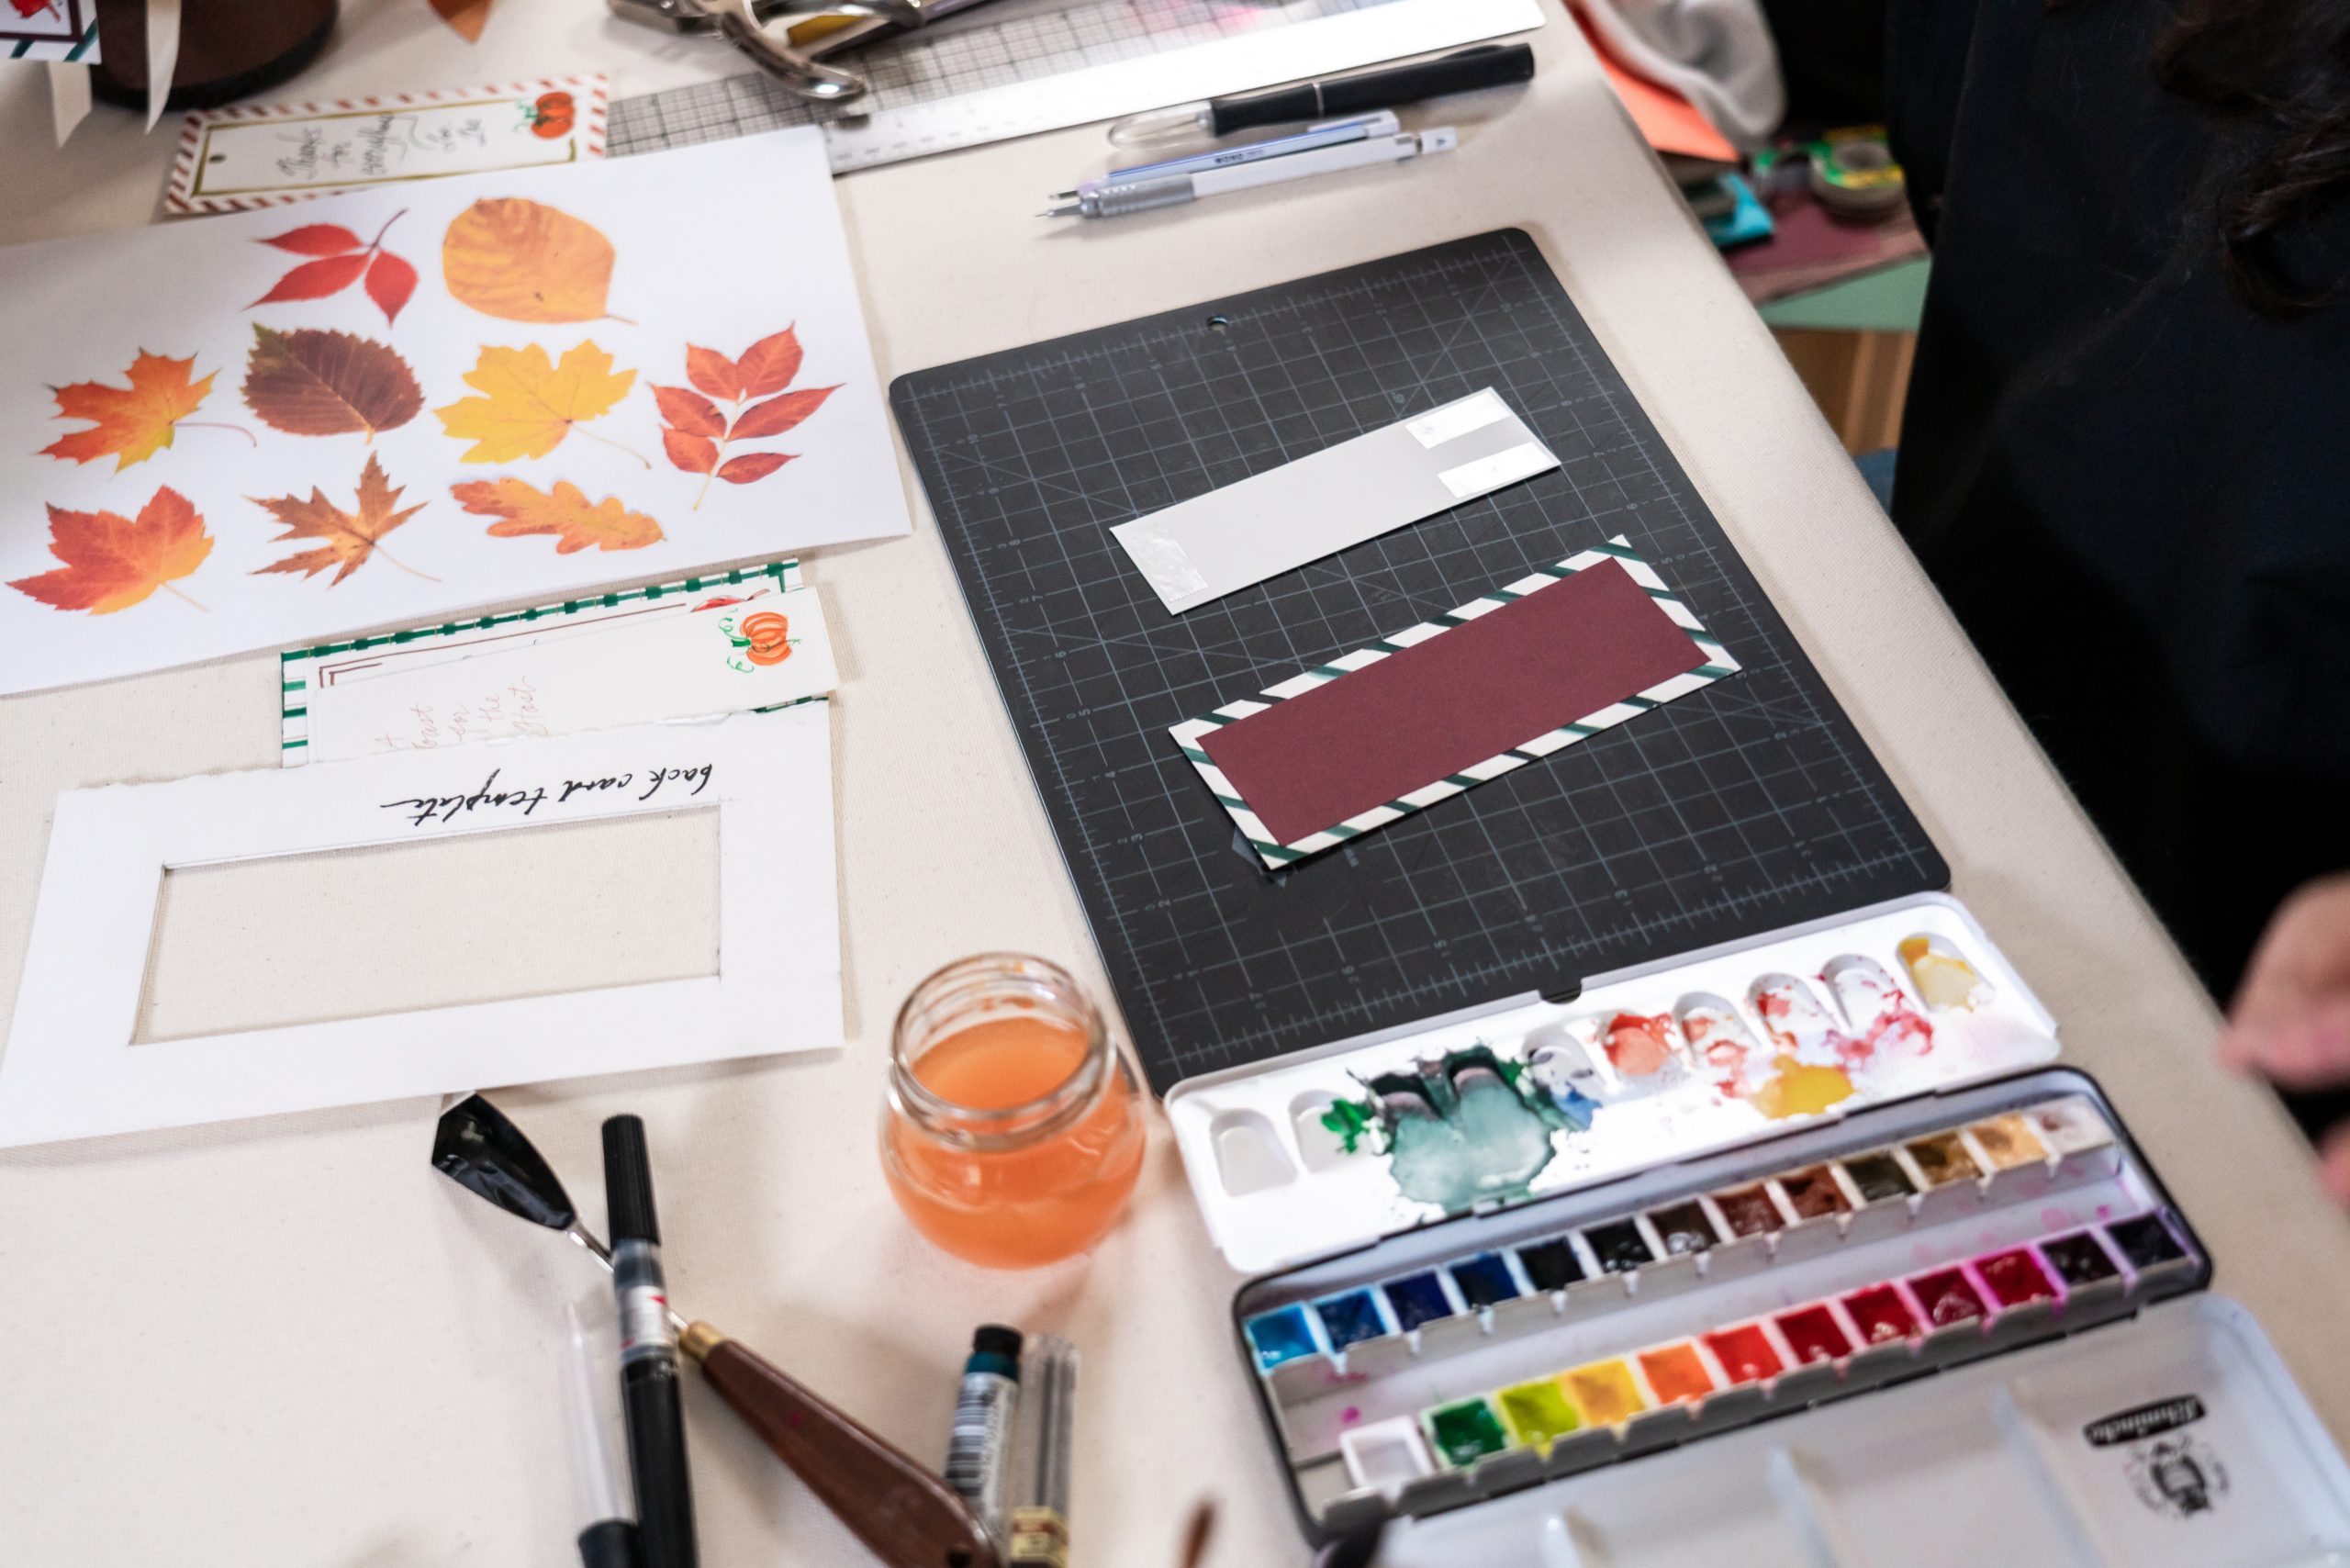
What You Need
Instructions
1. Paint the Plaid
On a piece of watercolor paper, paint a pattern. Don’t overthink it — go with simple diagonal stripes, or maybe even a plaid. If you’re a bit type A, you can use your ruler as a guide. But it really doesn’t matter if the lines are perfectly straight because this is going to be the background of your tag, and most of it will be covered anyway.
2. Measure Out Your Rectangles
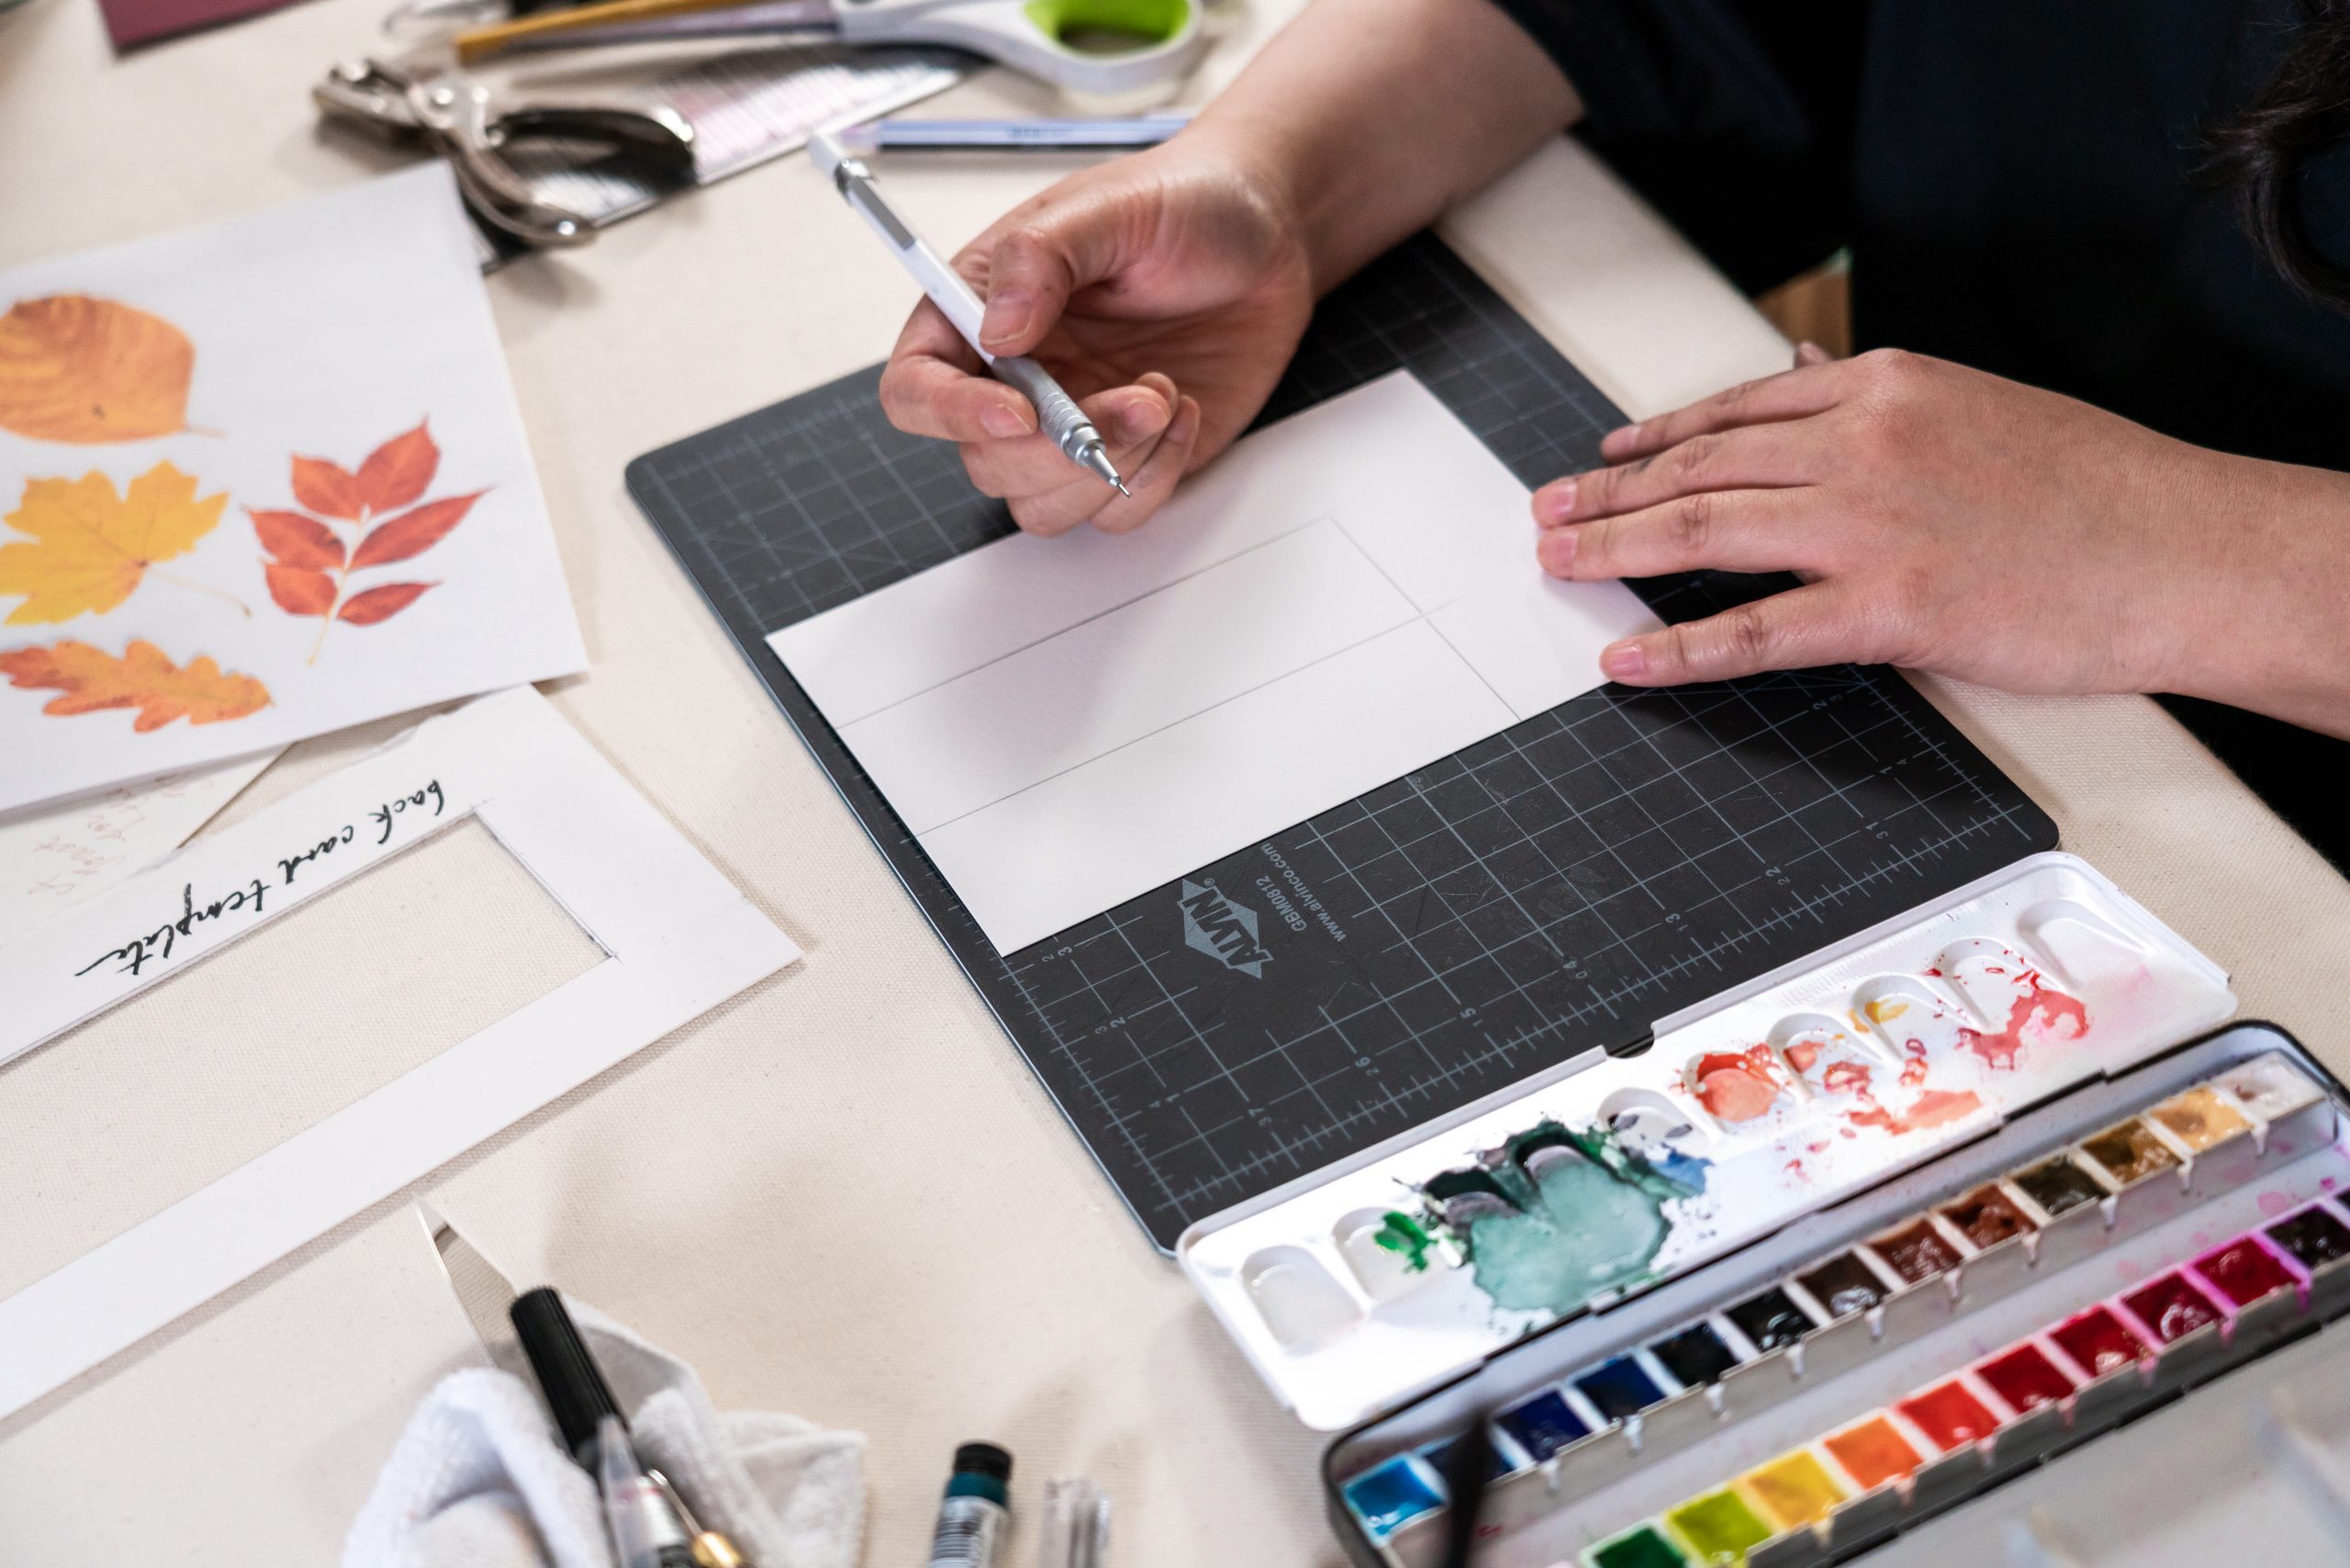
Use a ruler to measure and cut out a rectangle 6½” tall and 2½” wide on your plaid pattern (you only need one for your tag, but if you’re making multiple tags, do yourself a favor and cut them out now!) This will be the background piece for your tag. On another piece of watercolor paper, measure rectangles that are 6⅛” tall and 2⅛” wide (again, you only need one per tag). This will be the front label of your tag. Don’t cut it yet, you’ll do that later.

Now grab your colored backing paper and measure rectangles that are 6 ¼ inches tall and 2 ¼ inches wide. This is going to be the front paper’s border and rest between the plaid background and the tag’s label. You’ll cut these later, too.
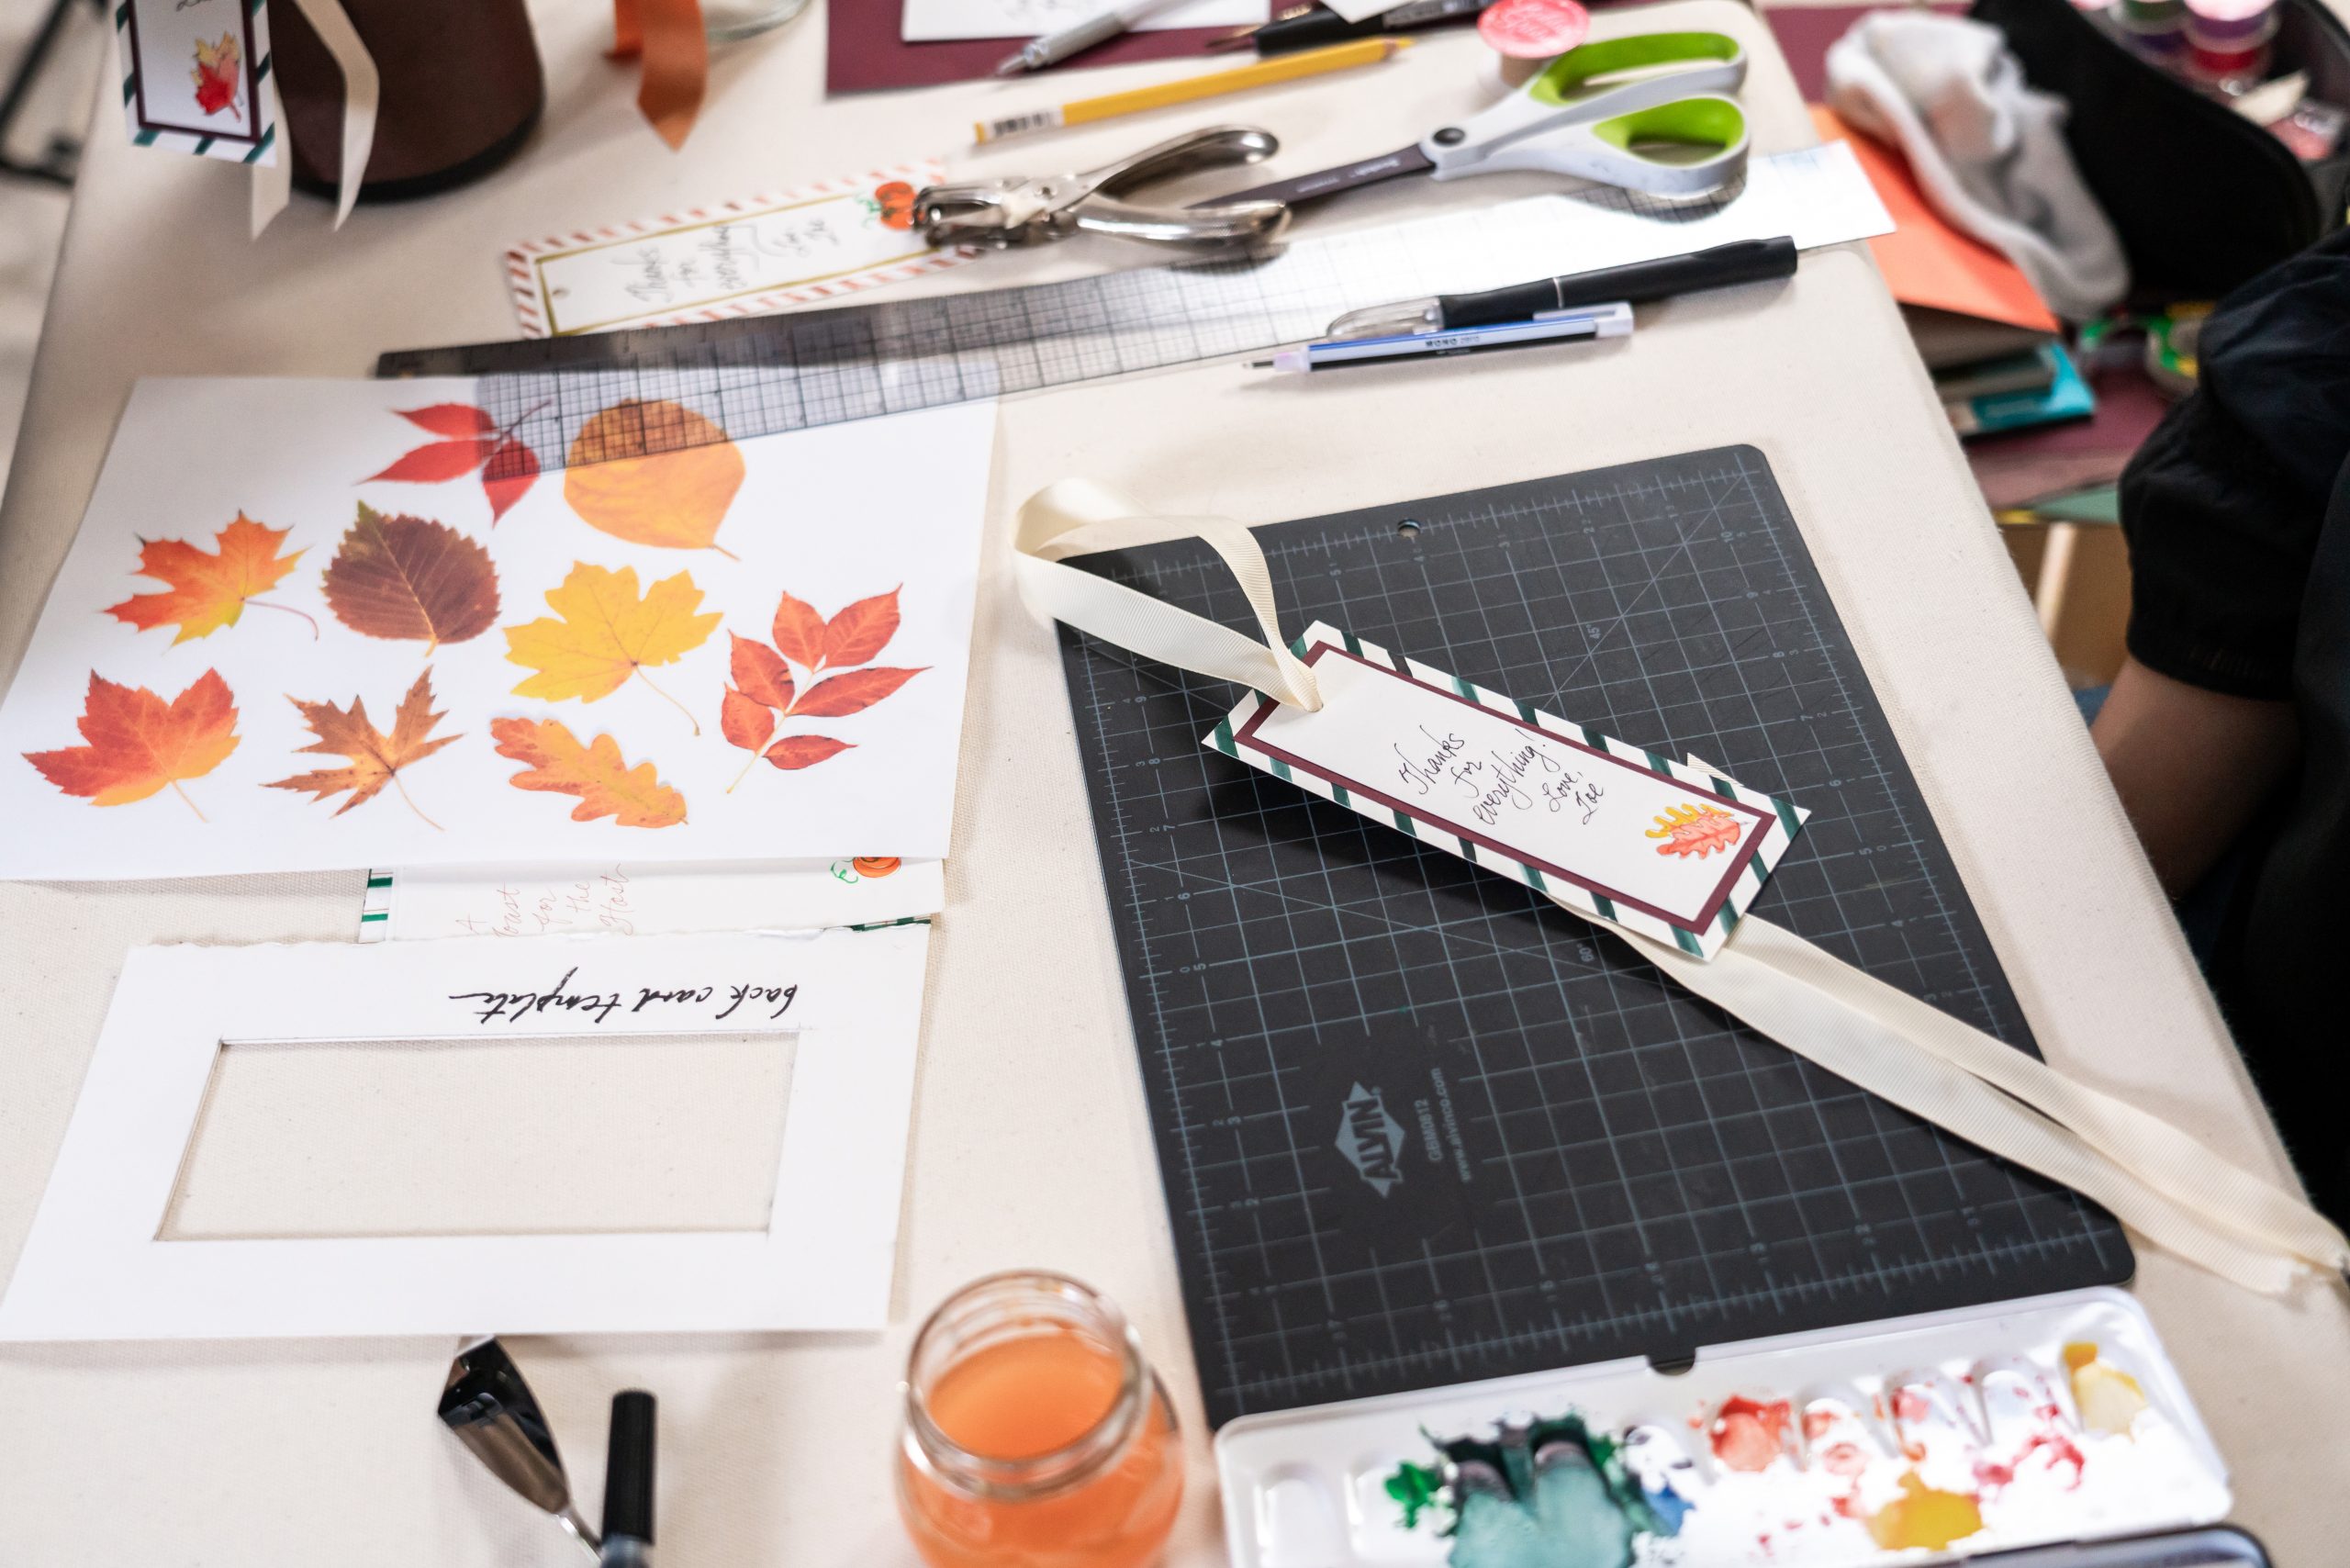
3. Decorate the Front of the Tag
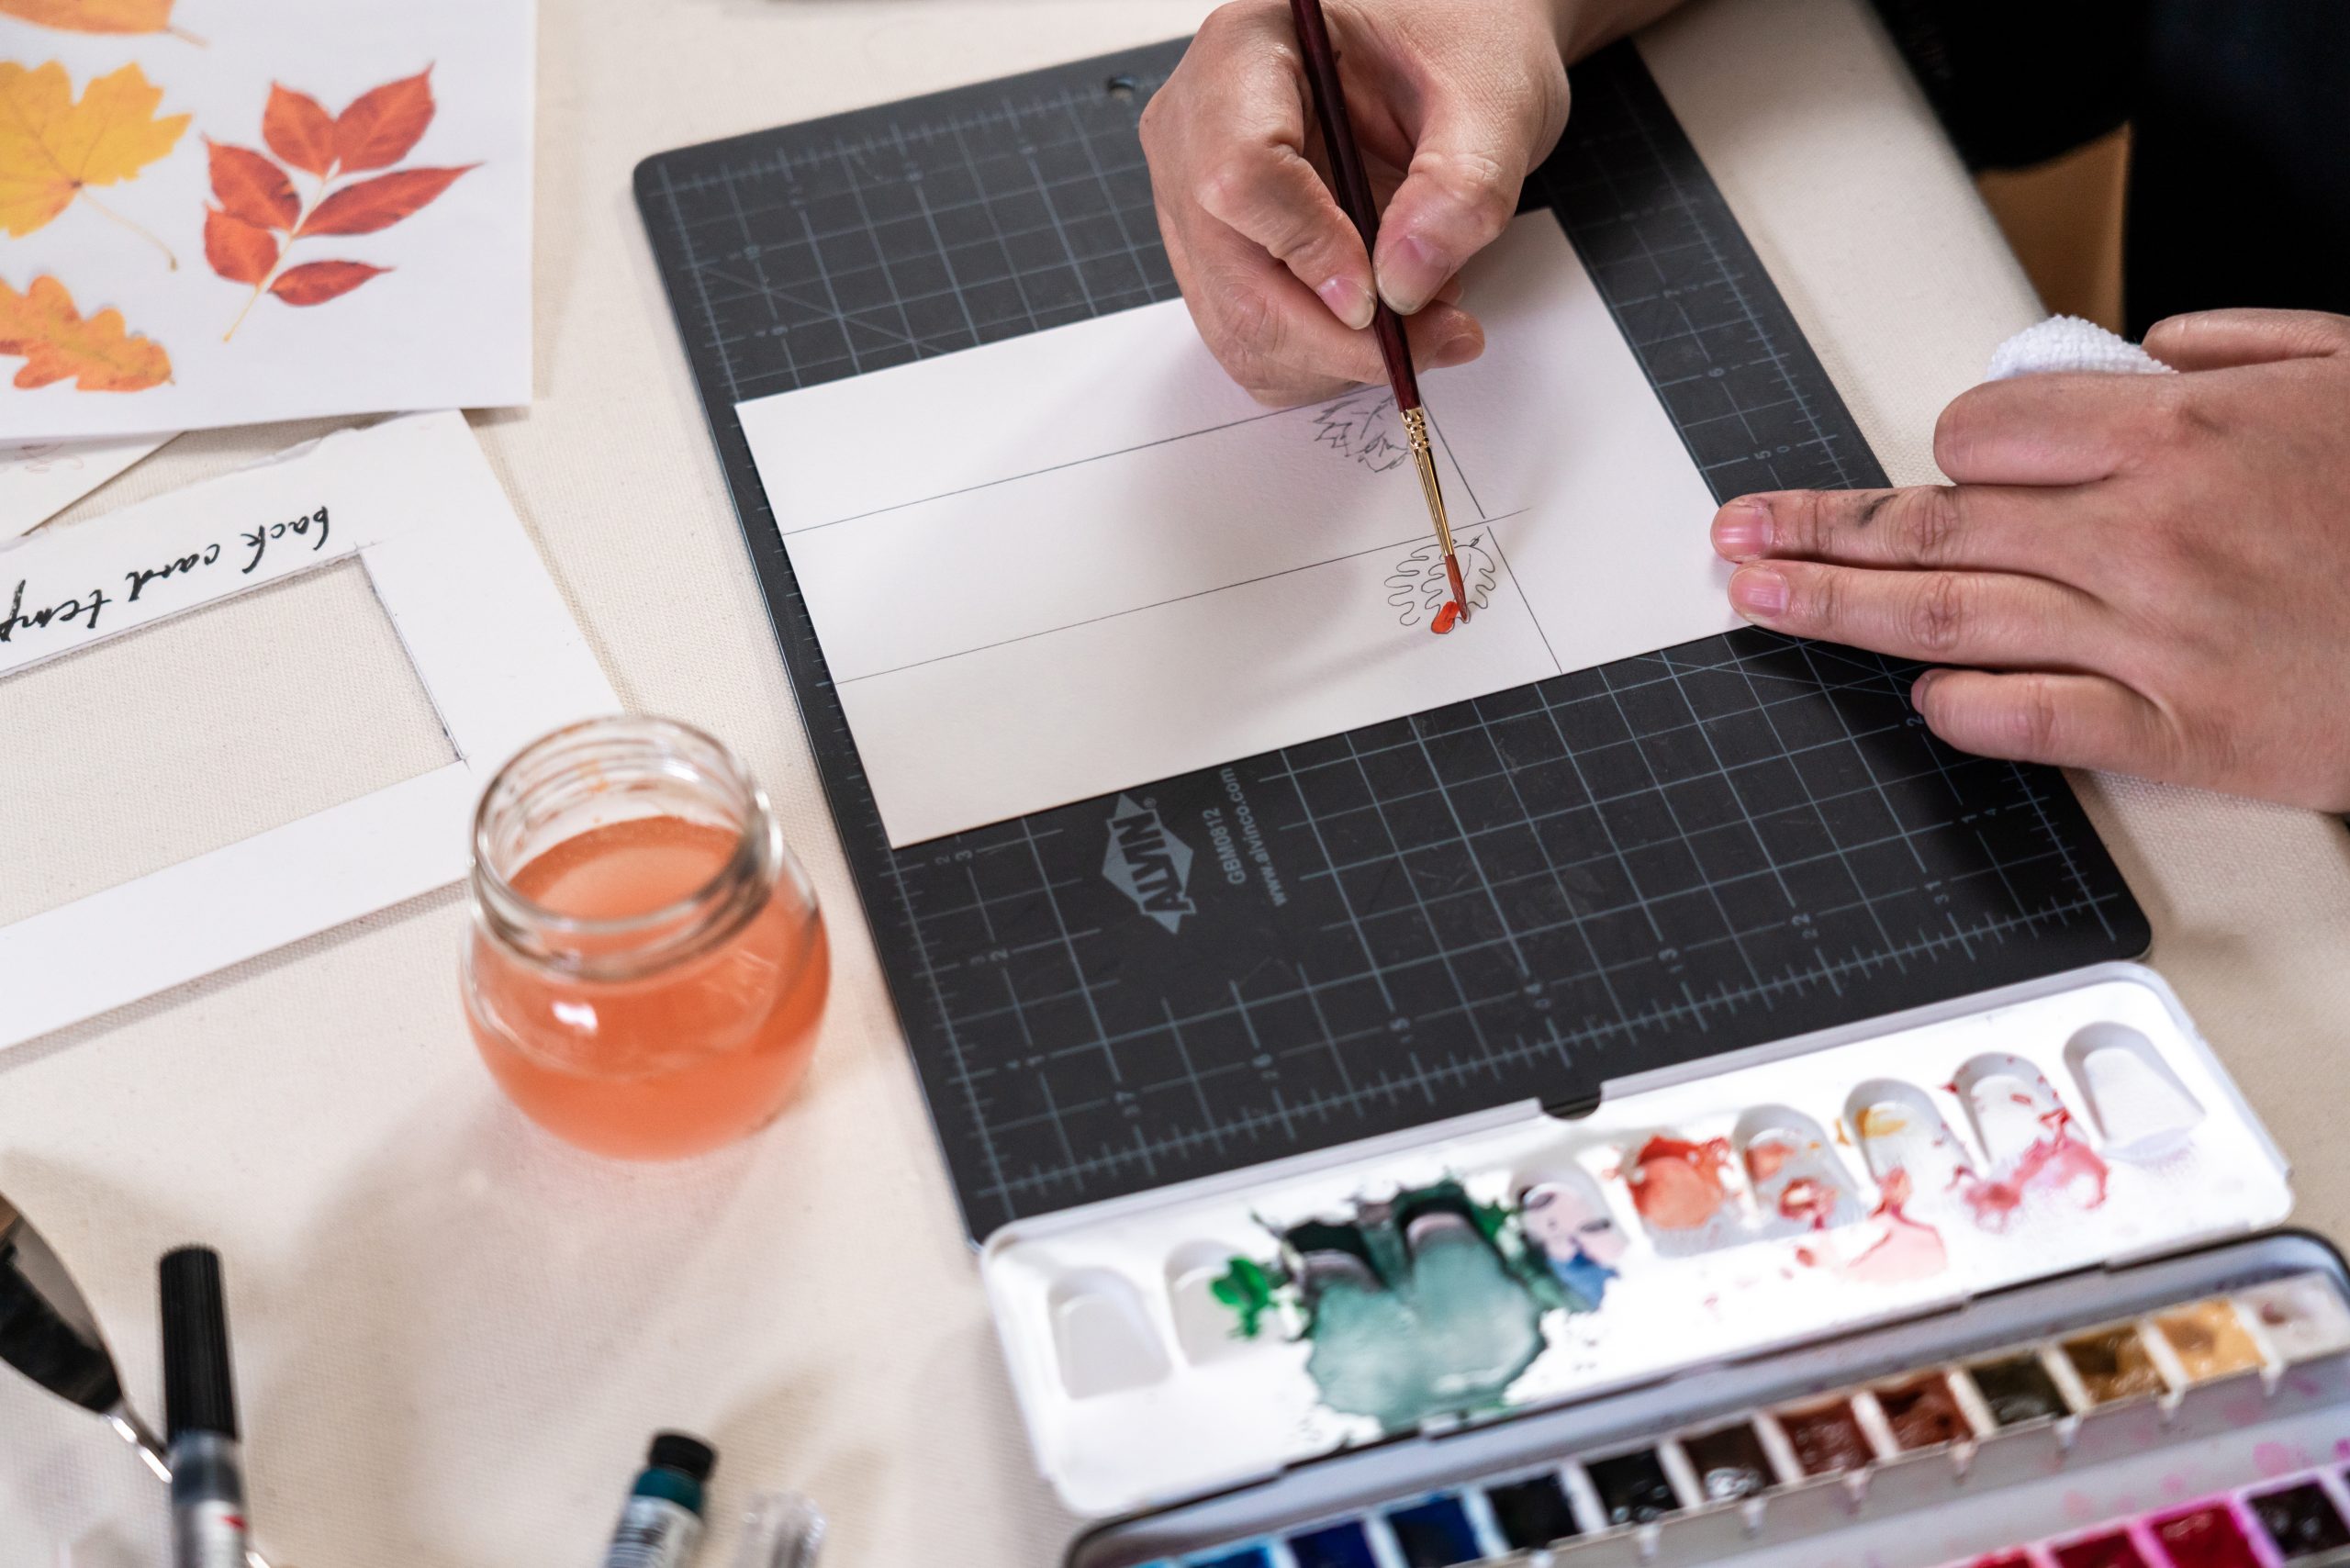
Decorate what will be your front paper with your favorite fall motifs. You can use your watercolors to paint a small pumpkin or colorful leaves, or you can draw with your colored pencils. Once the paper is decorated, finish it up by adding a fun message in fancy lettering.
Pro Tip: if your paper starts to curl once the paint has dried, lightly press it with a dry iron and pressing cloth or put it underneath a heavy book until it lies flat again.
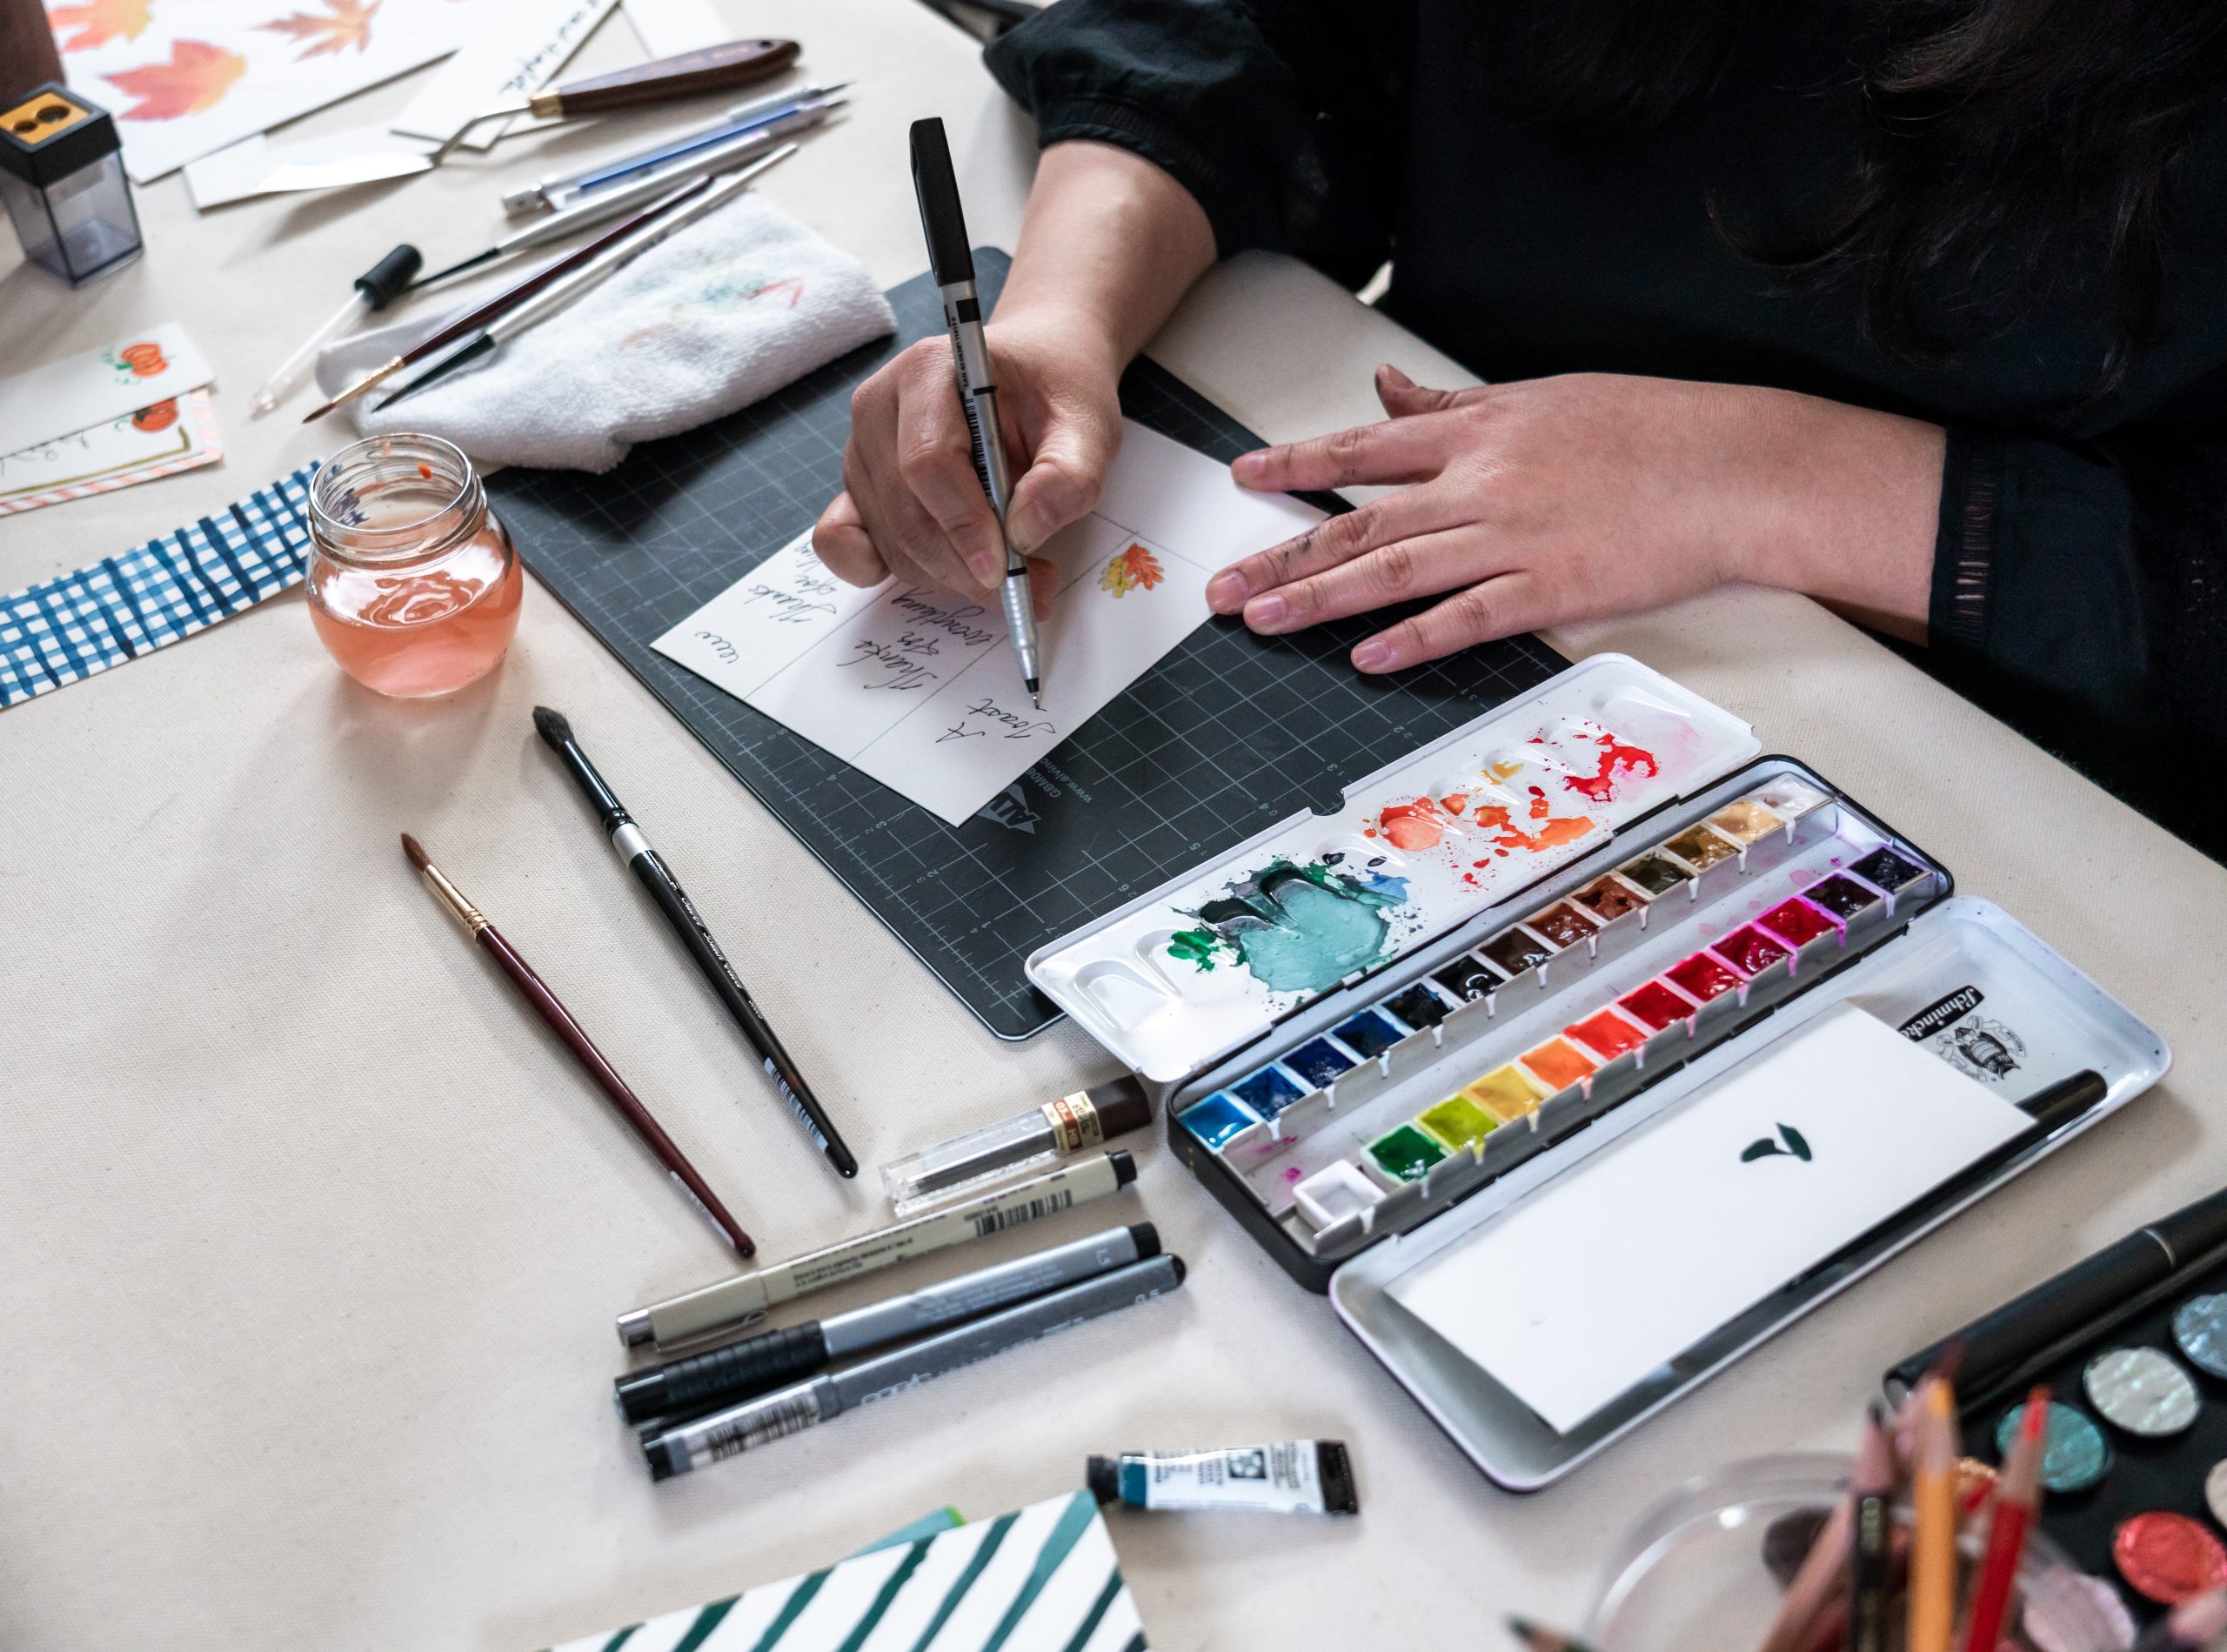
4. Pencil In the Details
When your paint is dry, use colored pencils to add details to your plaid design and the decorative leaves or pumpkin on the front of your tag.
5.Bring It All Together
Carefully cut out your labeled tag and backing paper, place them on top of each other in the center of your plaid paper and glue the layers together (double-sided tape works, too). Or, give your tag an extra element by stitching the layers together with thread!
Once everything is assembled, punch a hole at the top where the ribbon will run through.
6. Finish With a Ribbon
Thread the ribbon through the hole from back to front, then back through the hole to form a loop. Adjust the ribbon so the loop is your desired length, and use glue or tape to secure the ribbon to the back of the tag and keep the loop in place. If you want a neater look, you can cover the ends with a sticker.
Once you have the ribbon fastened to the tag, trim any access and slide your tag down the neck of a wine bottle.
Check out more fall-tastic projects in our class Fall-Ready Decor + Projects.
What type of glue do you find works best?