
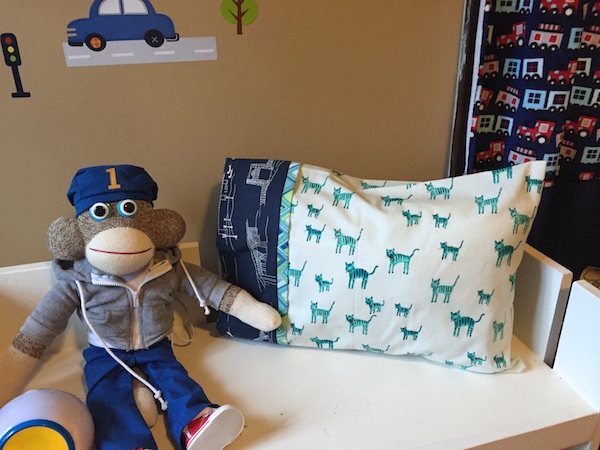
It’s easy to find tutorials for how to sew a pillowcase for standard-size pillow — but what if you have a pillow that’s a different size? In this post, I’ll share simple directions on how you can adapt the burrito pillowcase method to fit a bed pillow of any size. You can read the pattern below or follow my simple video tutorial on YouTube.
Here’s what you need to get started
Fabric:
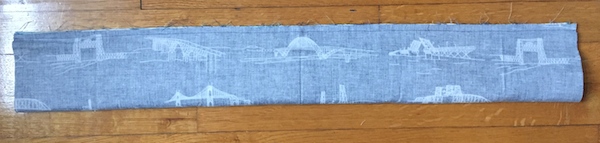
- Main Fabric: 30″ x 16″ (If using a directional; print, make sure it runs along the 16″ side)
- Large Accent Fabric: 30″ x 9″ (If using a directional print, make sure it runs along the 30″ side)
- Tiny Accent Fabric: 30″ x 2″ (folded in half and pressed into a 1″ folded strip)
These are measurements for my toddler-sized pillowcase, but keep reading to find out how to adjust these measurements to fit your pillow.
Other supplies:
- Sewing machine and thread
- Iron and ironing board
- Sewing pins
- Rotary cutter, cutting mat and ruler
How to adapt this for any size pillowcase
To calculate your own pillowcase size, measure the length and width of your bed pillow. I’ll insert the toddler pillow measurements as an example below the equation:
(Width of pillow + 3″) x 2 = X
(12″ + 3″) x 2 = 30″
Length – 1 = Y [16″]
17″ – 1 = 16″
Note: It may seem odd to subtract an inch from your pillow length, but remember that we are adding another few inches in the length with the cuff!
- Main Fabric: Cut to X” x Y” (If using a directional; print, make sure it runs along the Y side)
- Large Accent Fabric: Cut to X” x 9″ (If using a directional print, make sure it runs along the X side)
- Tiny Accent Fabric: Cut to X” x 2″ (folded in half and pressed into a 1″ folded strip)
Custom-size pillowcase tutorial
I’ll use my toddler pillowcase measurements for this tutorial, but you can substitute your measurements in.
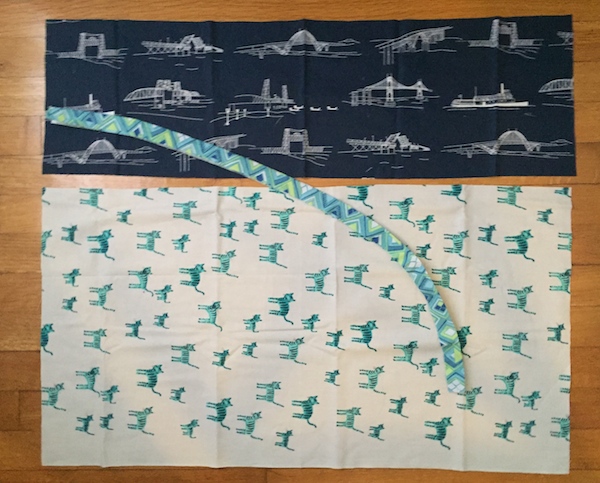
Step 1:
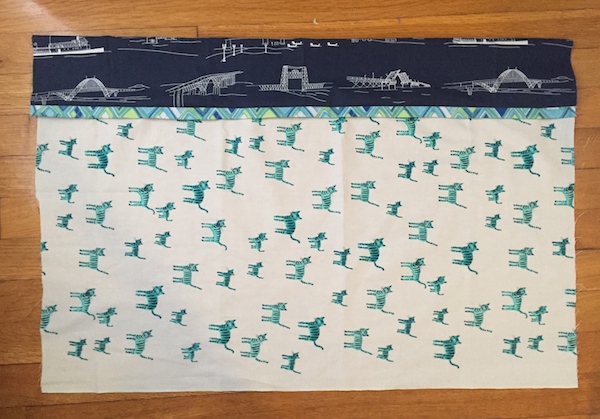
Layer your fabrics as follows:
- First, lay down your Large Accent Fabric right side facing up.
- Next, layer your Main Fabric, so that the longer raw edges are aligned on one side.
- Next, lay the folded Tiny Accent Fabric strip on top, so that the raw edges are aligned with the others
Roll up the Main Fabric only, starting at the bottom, until it’s in the center of your fabric stack as pictured.
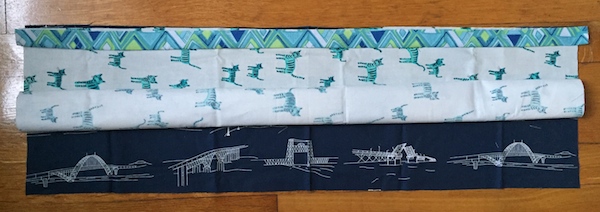
Step 2:
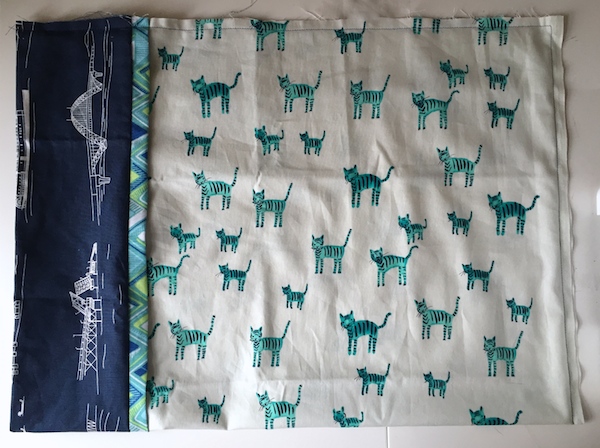
Once you’ve rolled only the Main Fabric, gently fold the bottom of the Large Accent Fabric (the 9″-wide strip on the bottom layer) so that its raw edges meet the raw edges above. Pin these layers together making sure that all of them, even the Tiny Accent Fabric strip, are aligned evenly.
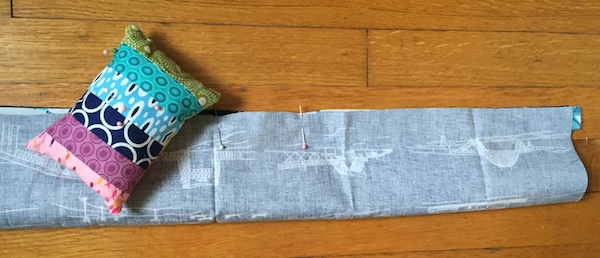
Step 3:
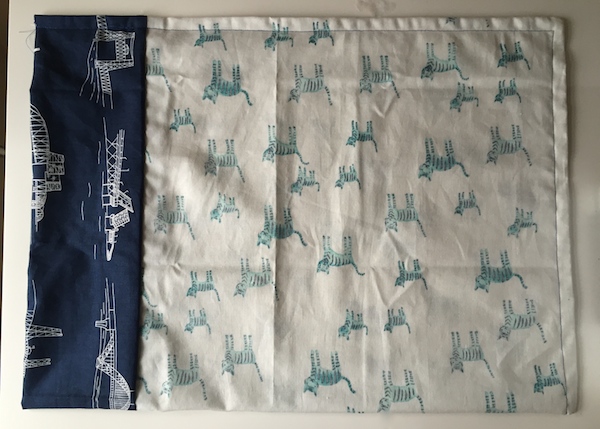
Sew a ¼” seam along the edges you’ve pinned, backstitching at both ends. Reach inside the tube and gently pull out the inner fabrics.
Step 4:
Once you’ve pulled the fabric from outside the tube, press your pillowcase seams flat.
Step 5:
Next, it’s time to sew a French seam! Fold your pillowcase in half as pictured, with the wrong sides together. This will feel like you are doing something wrong, but it’s the first step in sewing a French seam. Sew a ¼” seam along the two seams with raw edges.
Step 6:
Turn the pillowcase inside out, and press your seams. Adjust your seam allowance to ½” and sew along the same two sides. This will completely encase your raw edges inside the new French seam to give you a nice, clean edge on the inside of the pillowcase!
Step 7:
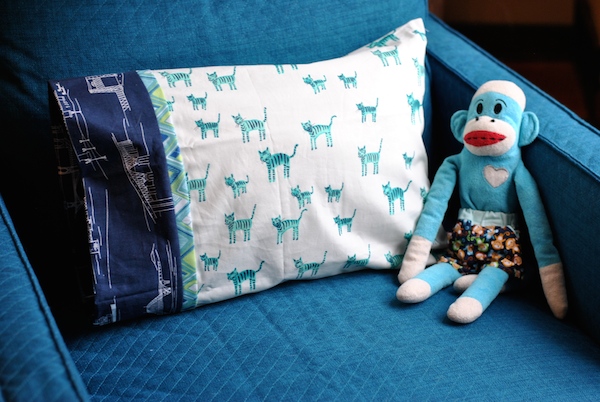
Give it a final press, and you’re done! I made my own 12″ x 17″ pillow form from two pieces of muslin (cut each to 13″ x 18″), sewn together and stuffed with fiber fill stuffing.
Thank you for this tutorial and for the added bonus of making your own pillow form!
This was very helpful. Thanks!