George Vondriska

Build an Impossible Table

George Vondriska
Sign in or Become A Member to view full class!
  • In-depth Instruction; over 77 mins
  • On-demand video access anytime
  • Bonus downloadable PDF resources
  • Access to class Q&A
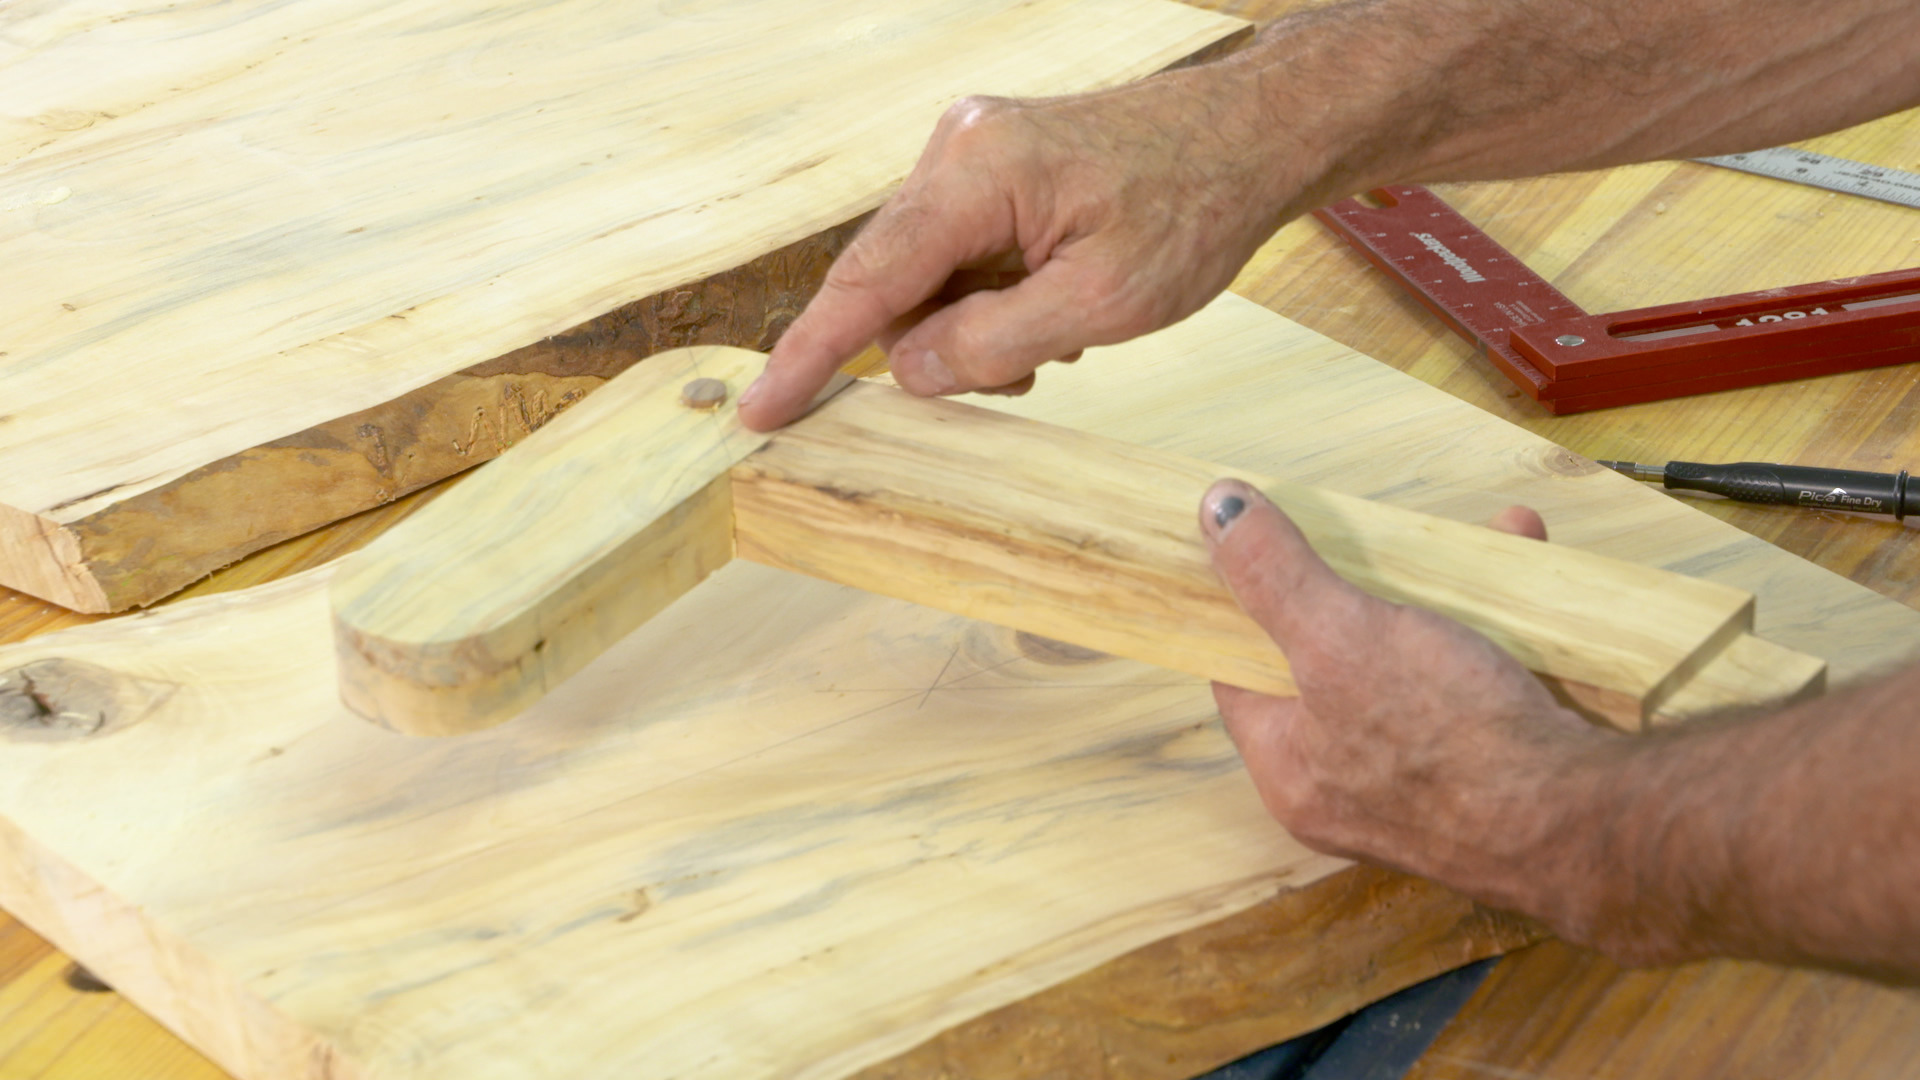
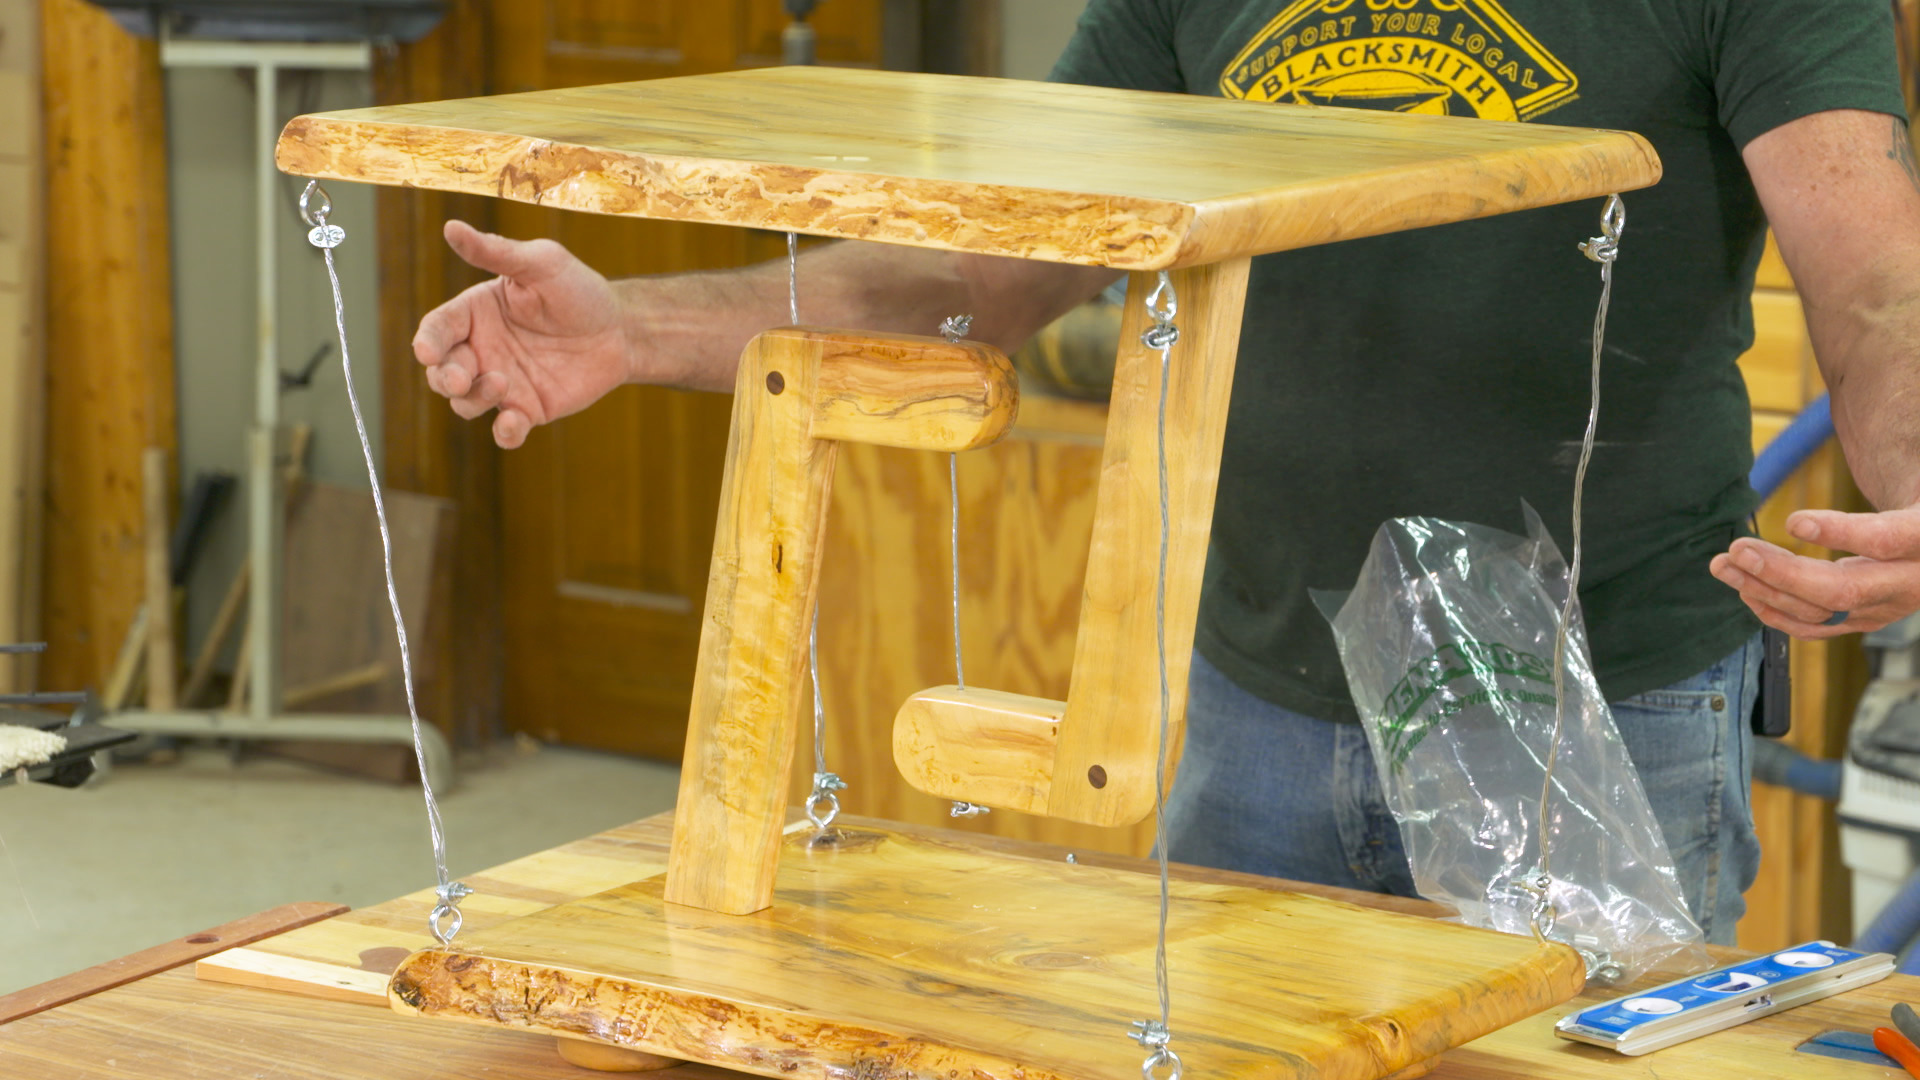
The goal of this class is to teach you how to develop your own Impossible Table. The hangers, the vertical components that project up from bottom and down from the top, are a critical element. I’ll take you through my design process. You can replicate my hangers for your table, or take the concepts and create your own hangers. I’ll also teach you how to work with the cables create the “magic” that is the core of an Impossible Table.
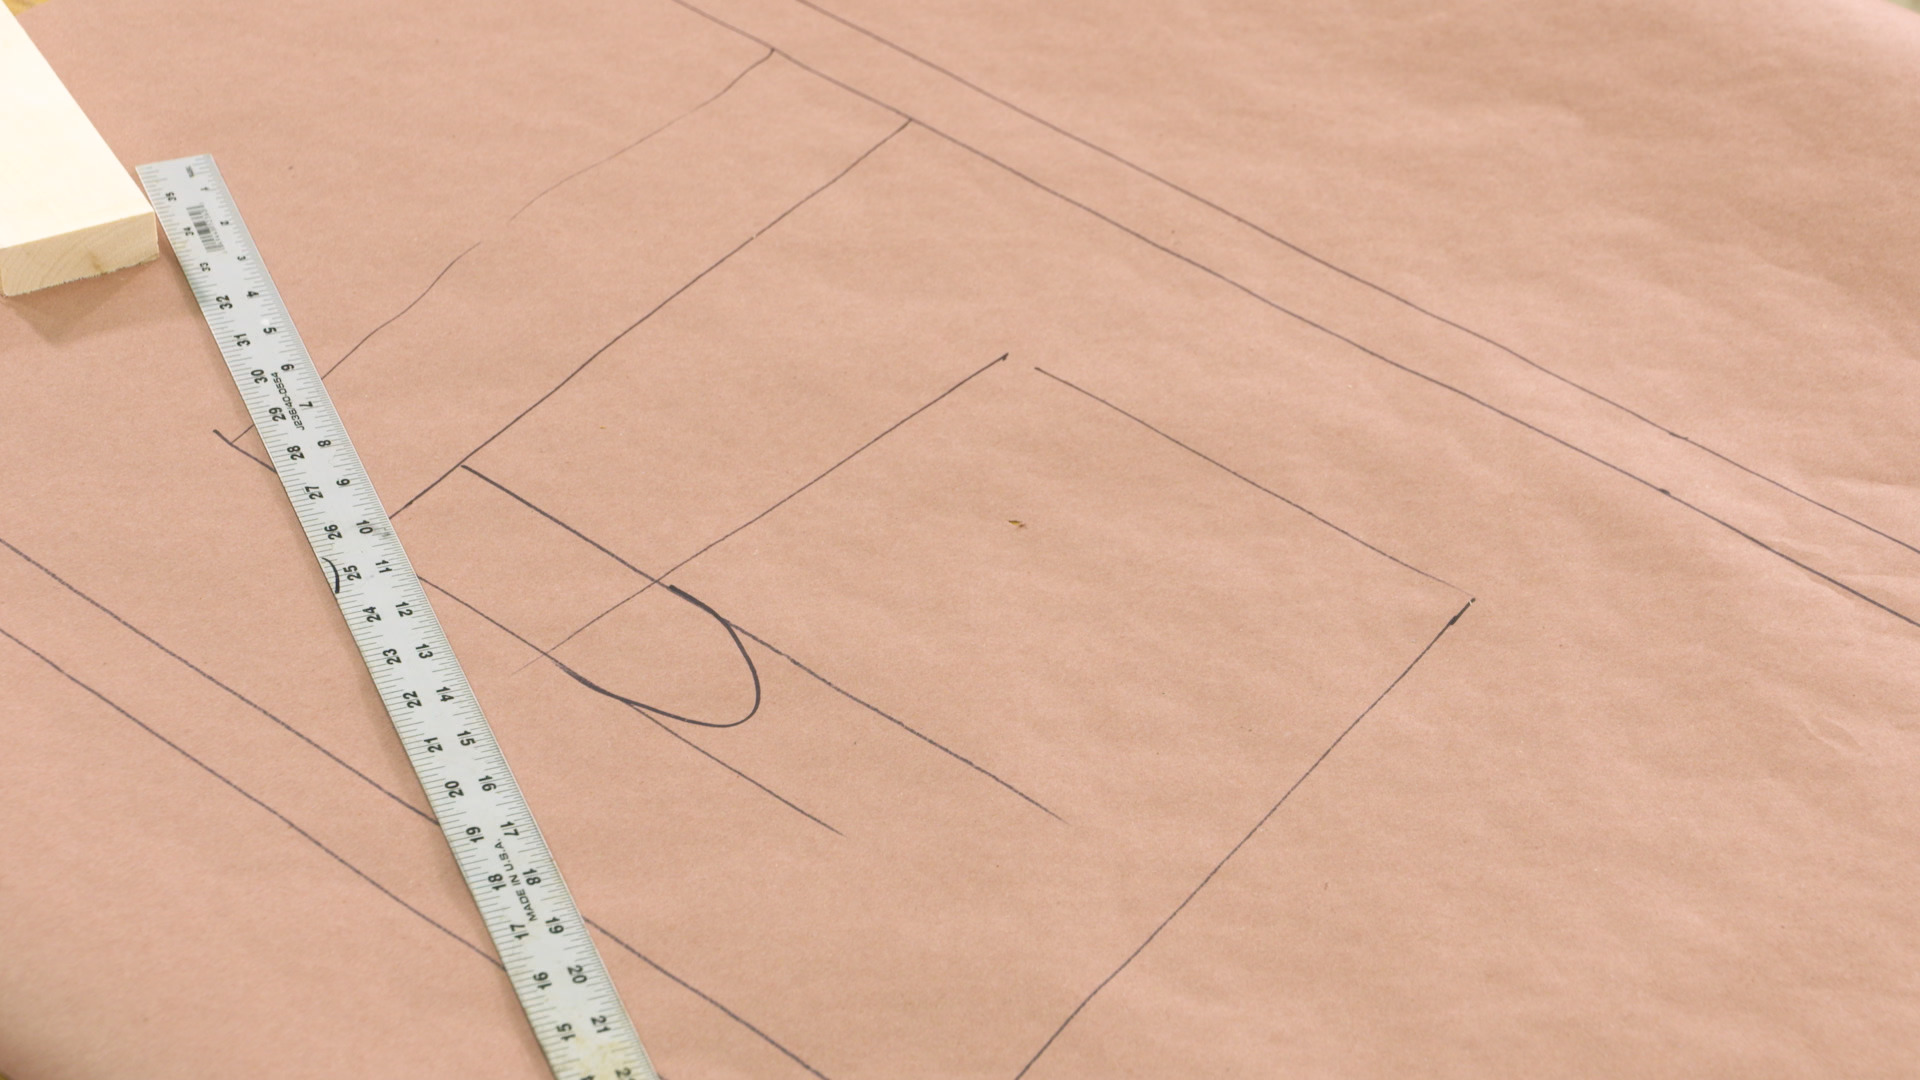
I laid the entire project out on rosin paper on my workbench. You can get rolls of rosin paper at home centers. With a 36” wide roll at your disposal you can draw the table full size. I drew the top, bottom and feet and did it all full size. My goal is to make this table 20” tall, a nice height for a side table. Next, I could start working on the layout of the hangers. It’s very handy to have rosin paper in your shop. Use it for drawings like this, and to protect your benches from finish and glue.
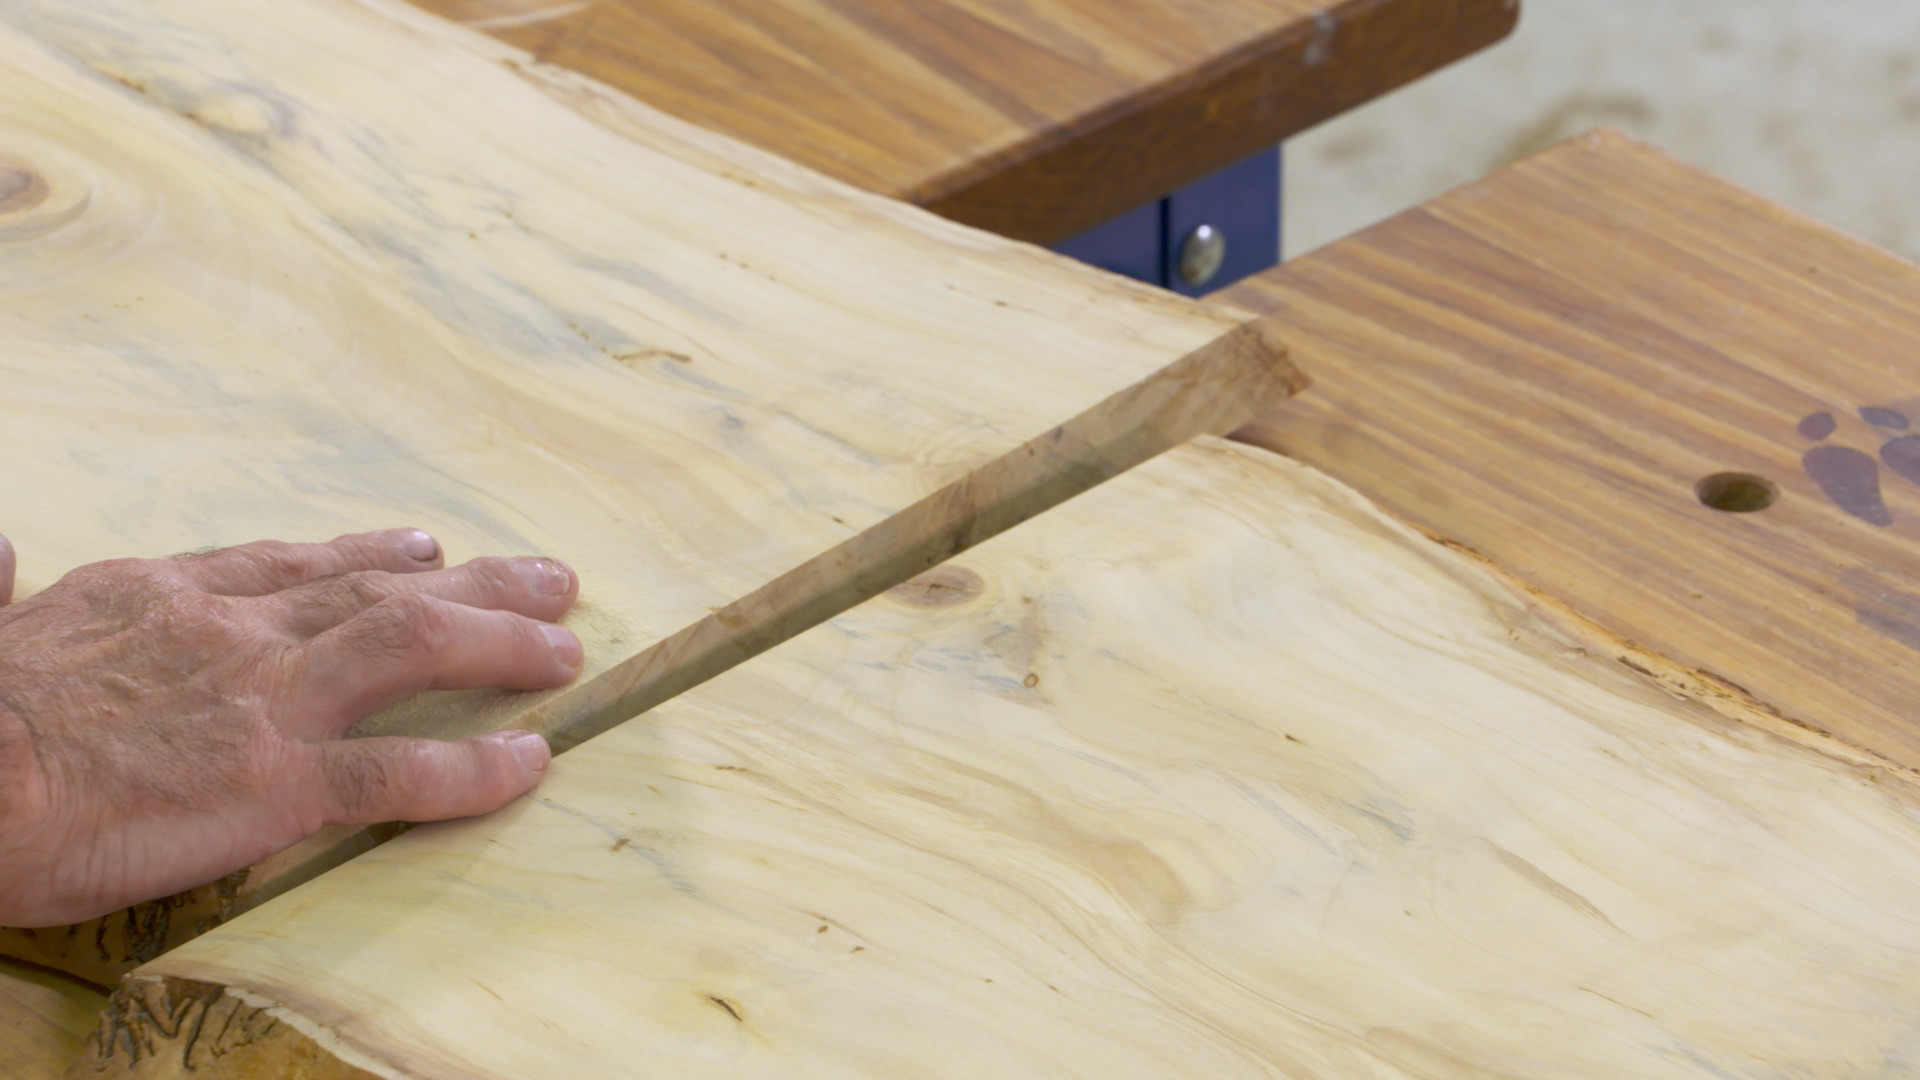
There are a number of ways you can pull the material you need for an impossible table together. I worked with a birch live edge slab, but you could also glue up pieces to get the width you need for the top and bottom. A fun aspect of this project is that you don’t have to build it to set dimensions.
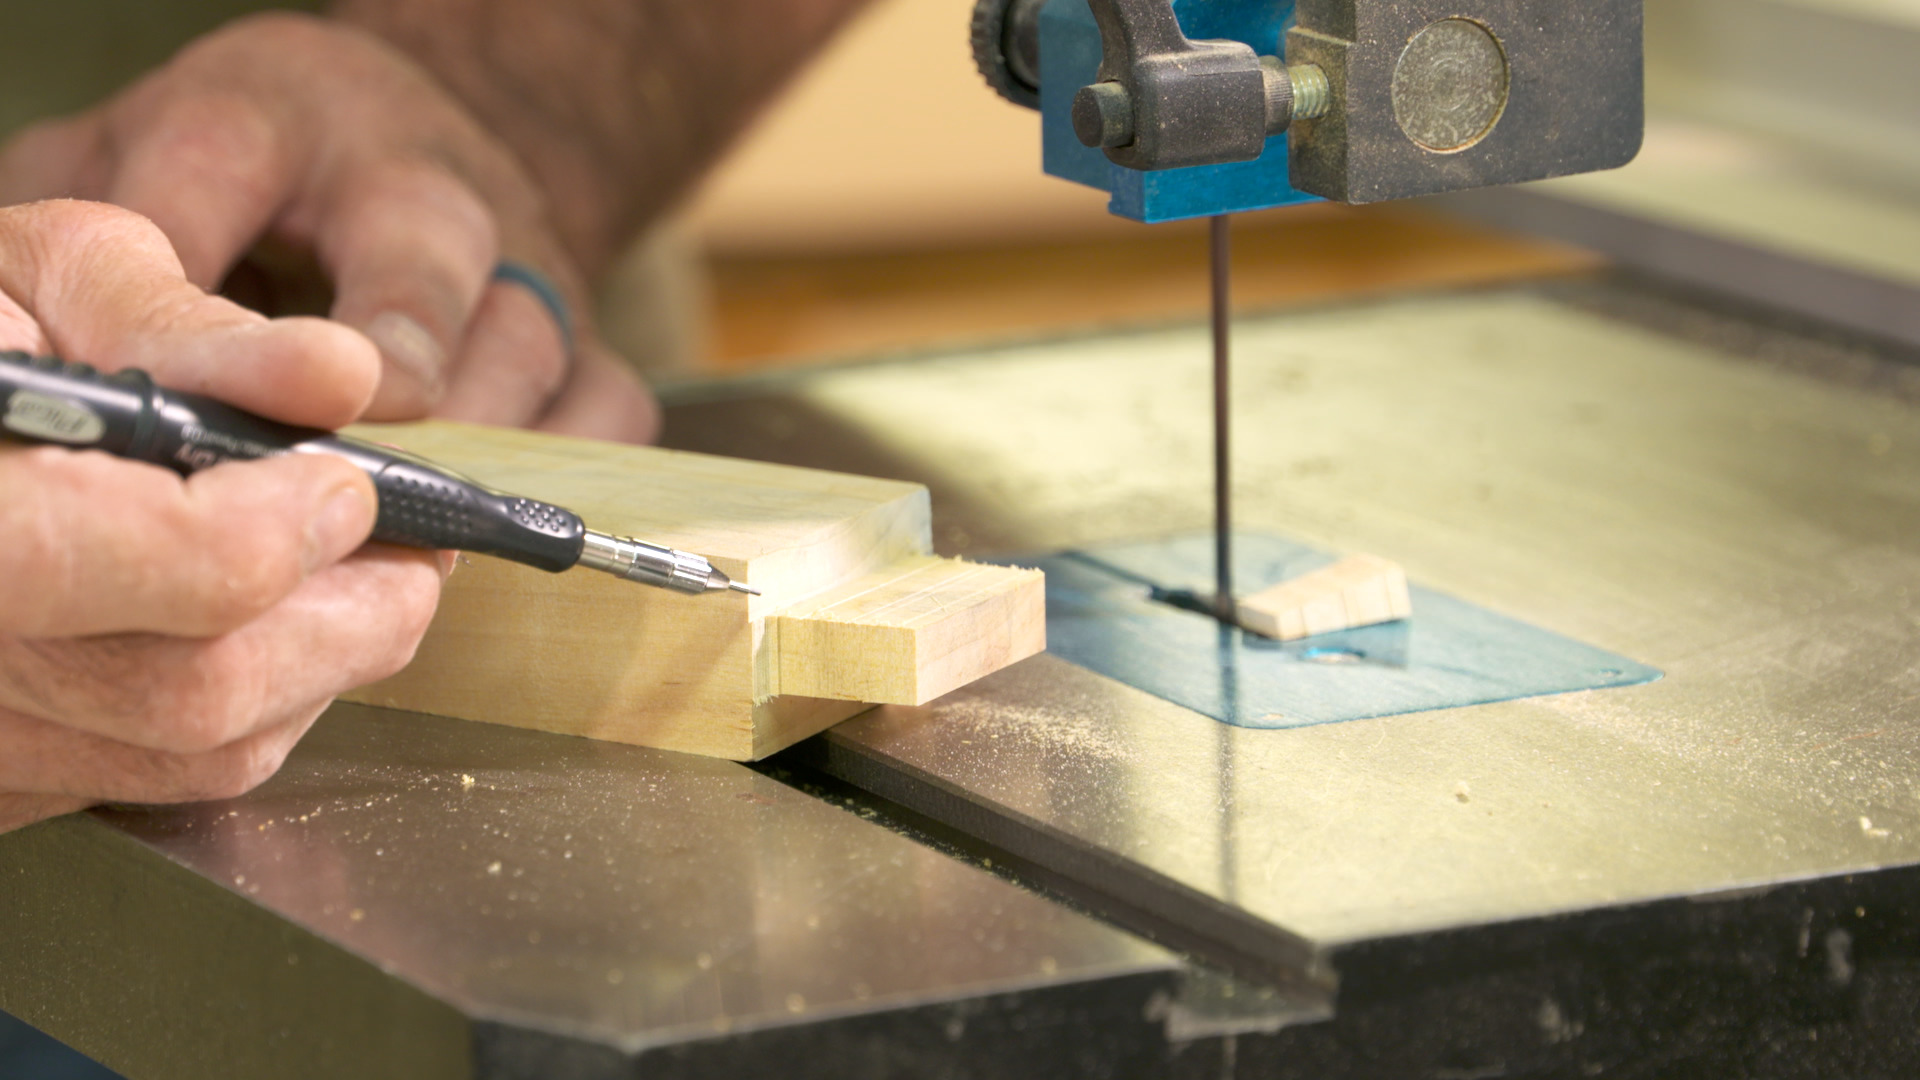
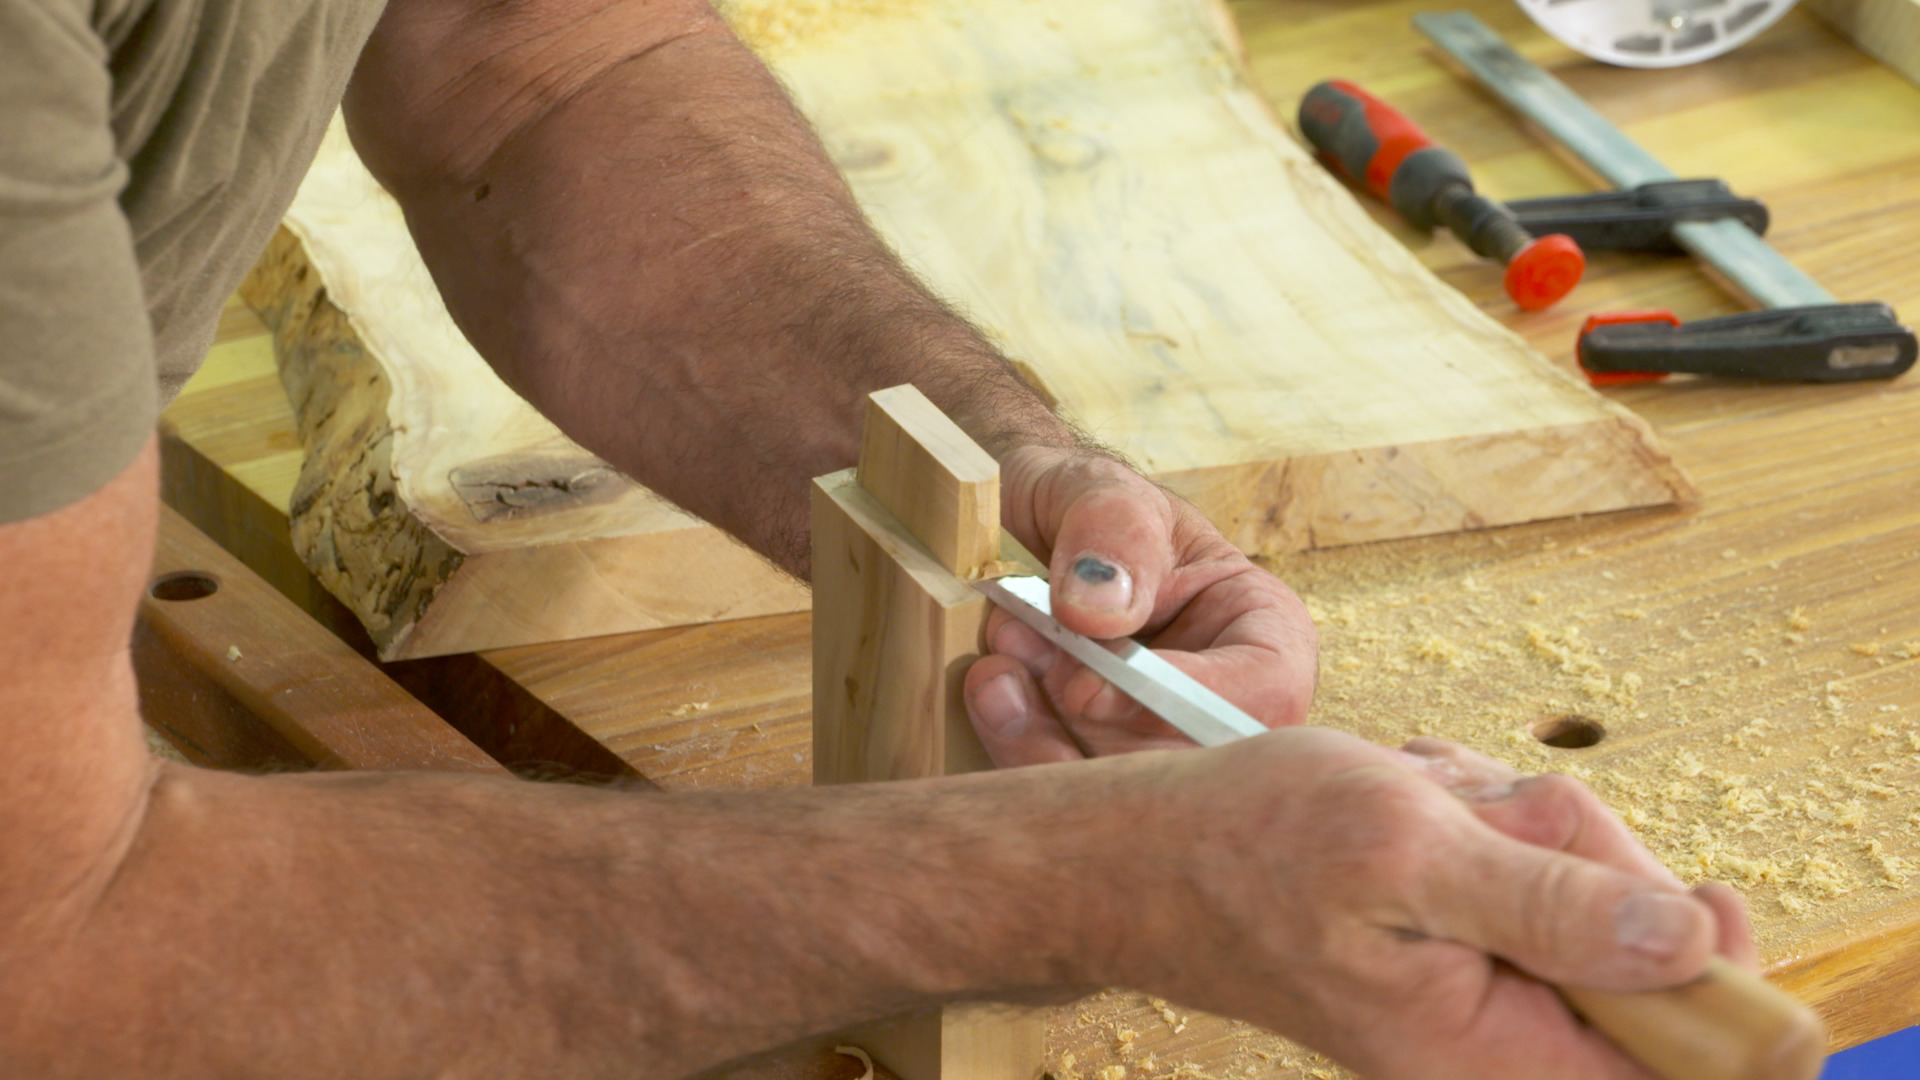
You need to work through a distinct series of operations to make your parts and create the joinery. It’s important that the half-lap and mortise and tenon joints are correctly cut so you have the strength you need in the joinery. I’ll take you through this step by step to make sure you get it right on your table. The mortise is made with a plunge router. The tenon and half-lap are done on the table saw.
There are a few tricks you need to know to locate the hangers on the bottom of the top and the top of the bottom. It’s important for the mortises to be located in just the right spot. This creates proper alignment of the hangers and the joining cable. Don’t worry, I’ve got you covered.
In this step you’ll grab your plunge router and, using the layout lines from the previous step, create the mortise that the hanger tenon fits into.
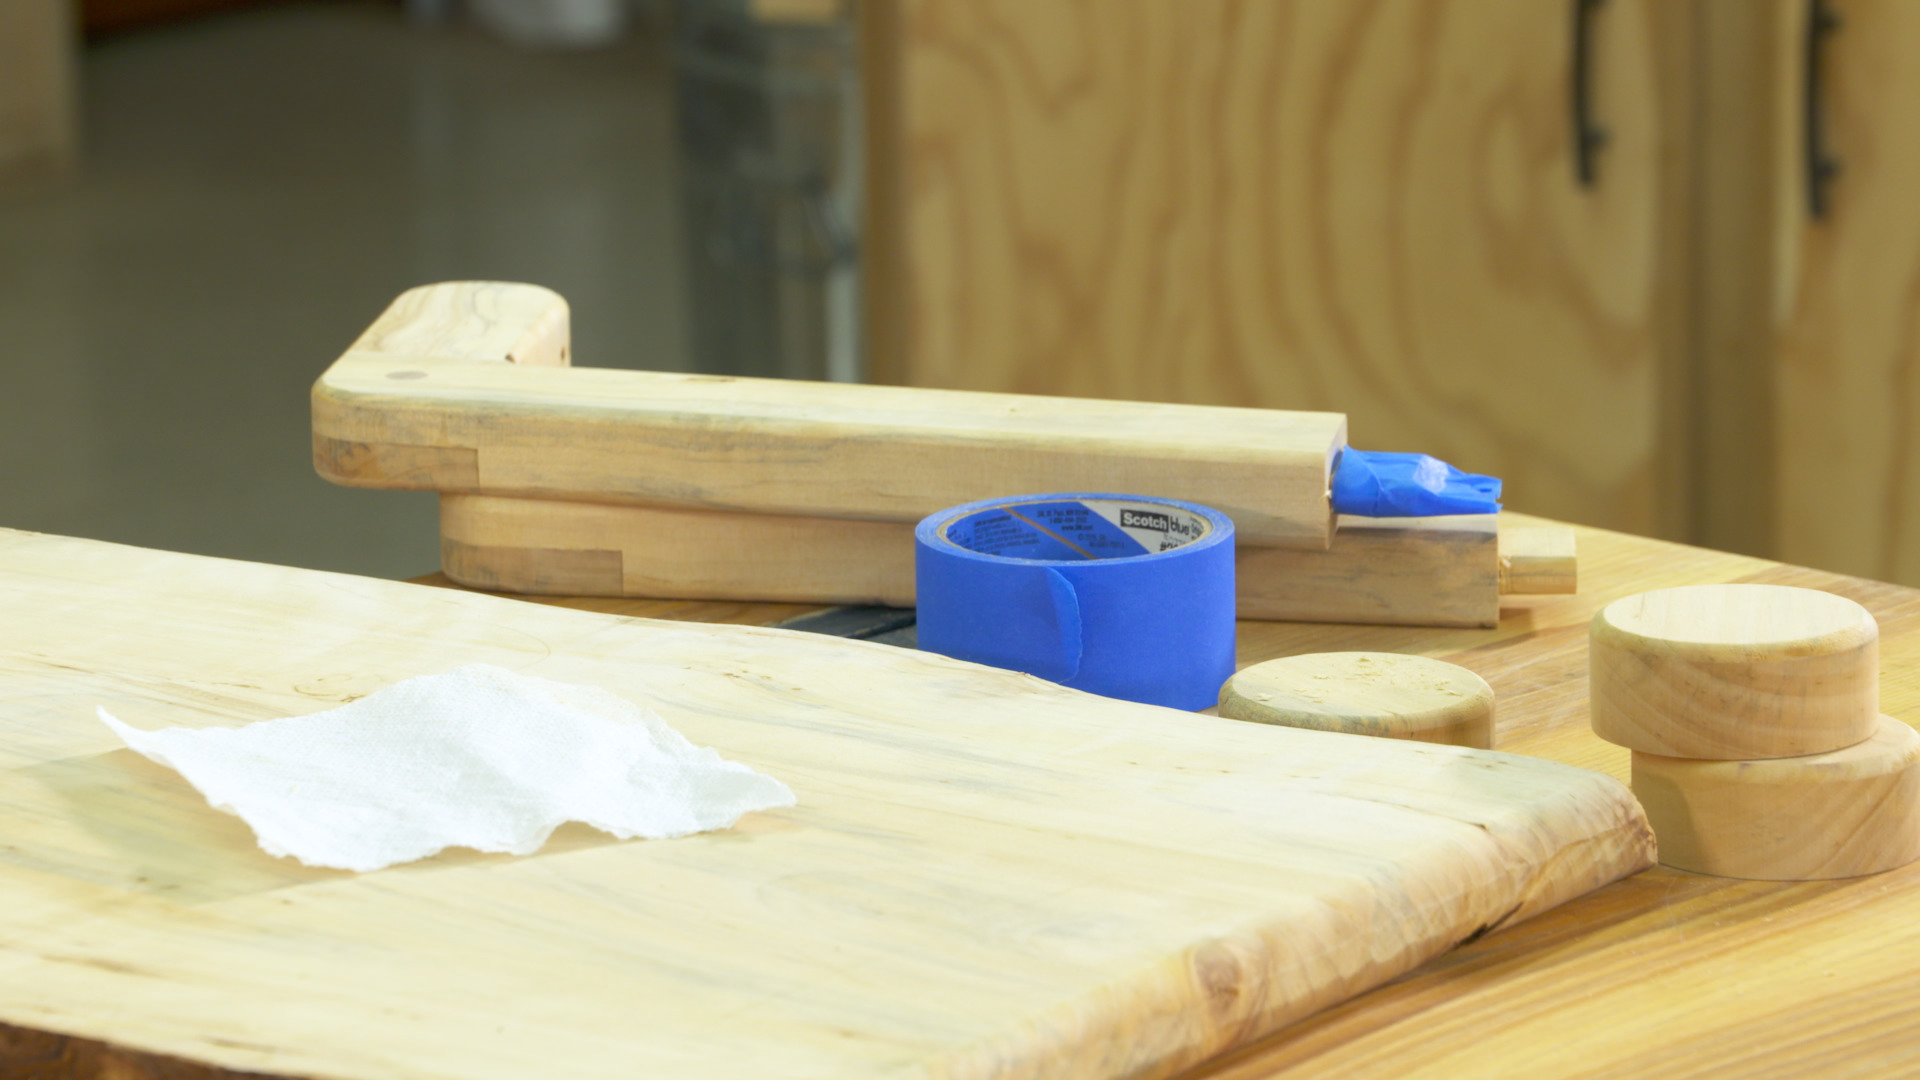
It’s much easier to finish this project before assembly, but you need to take a few steps before finishing. This involves rounding corners and predrilling for screw eyes. I’ll show you how to protect your joints so you don’t get finish in the mortise or on the tenon that could affect the glue bond.
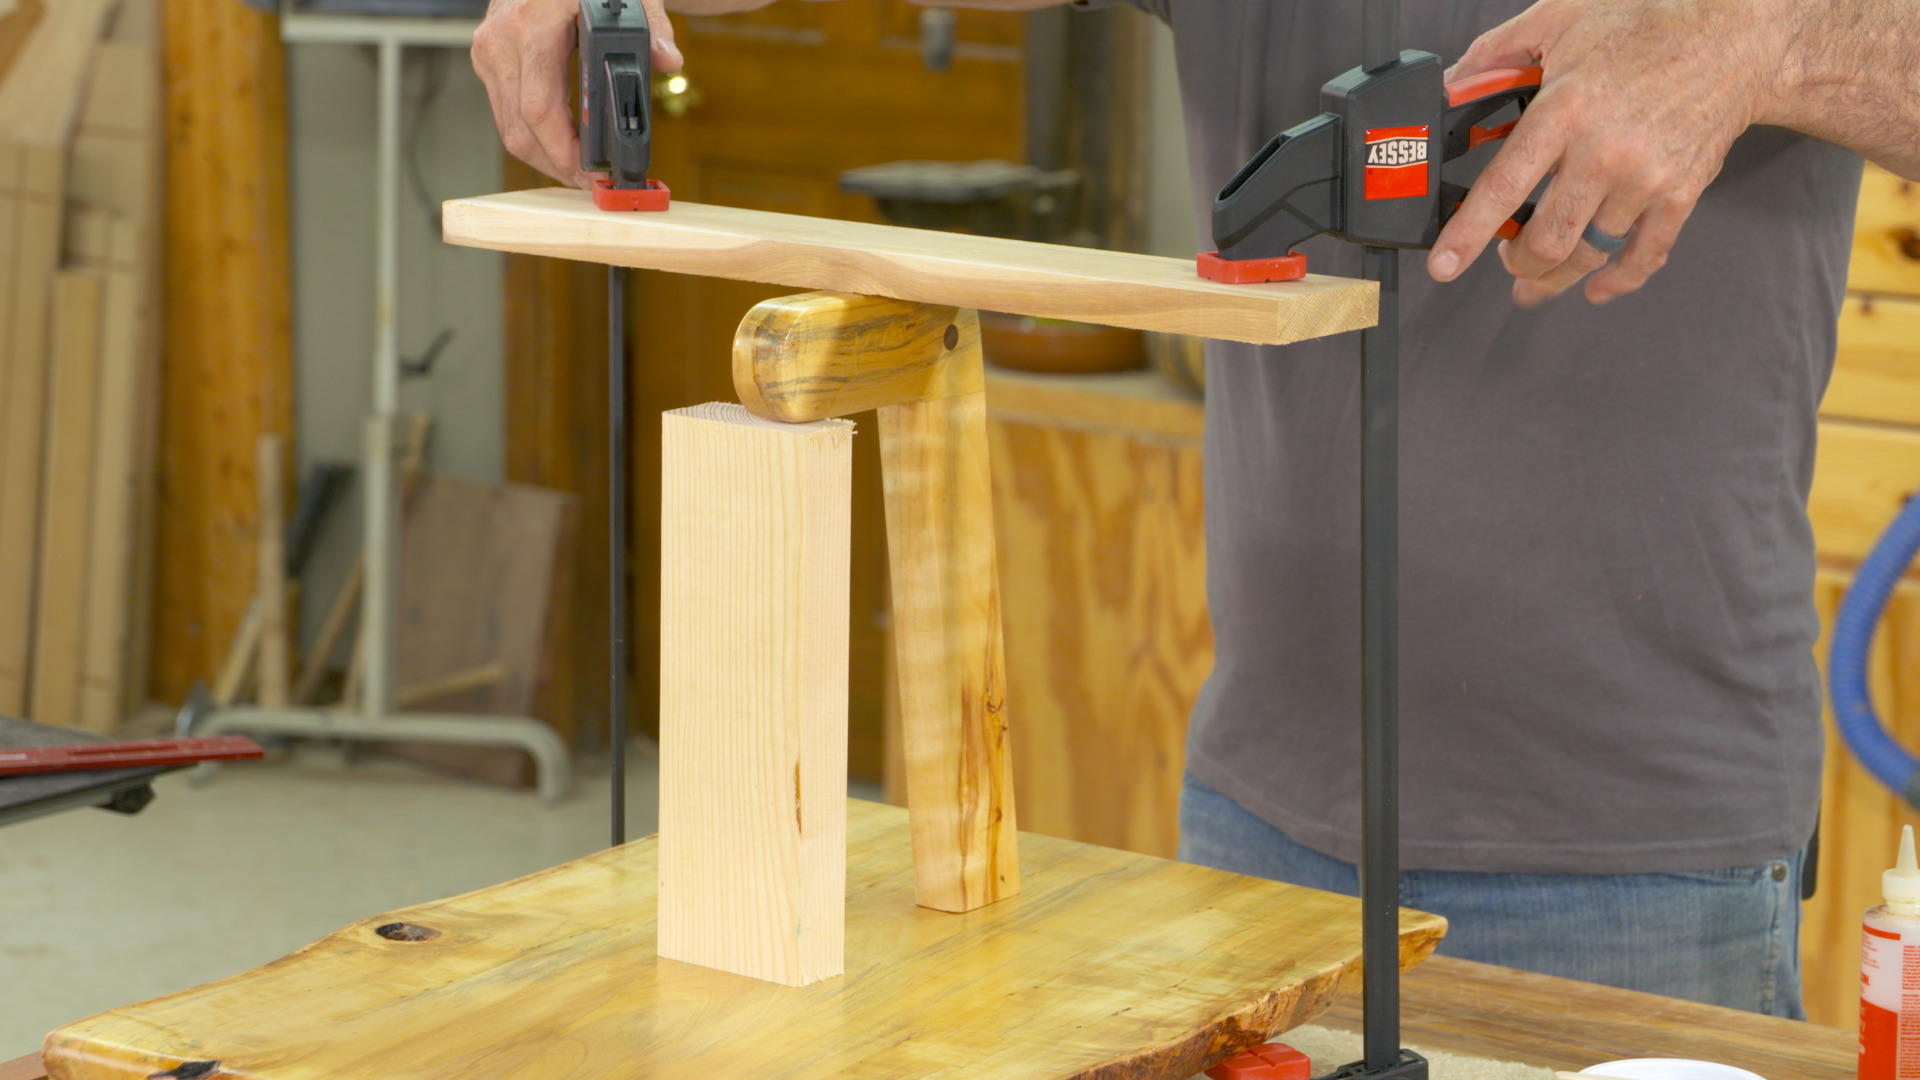
Once the finish is dry assembly can begin on the table. I elected to not use yellow glue for this joint. You’ll see why. This joint took some creative clamping. I’ll show you how to use a spacer and a crossbar to secure the hanger while the glue dries.
Everything is set and the table is ready for hardware!! This is tricky. We’re building a suspension bridge here, kind of. But thanks to the use of stilts and a defined build sequence, installing the hardware isn’t too tough. Once the screw eyes and cables are installed, you’re ready for your great conversation piece to find a space in your home.
 
 
9 Lessons
1  hrs 17  mins

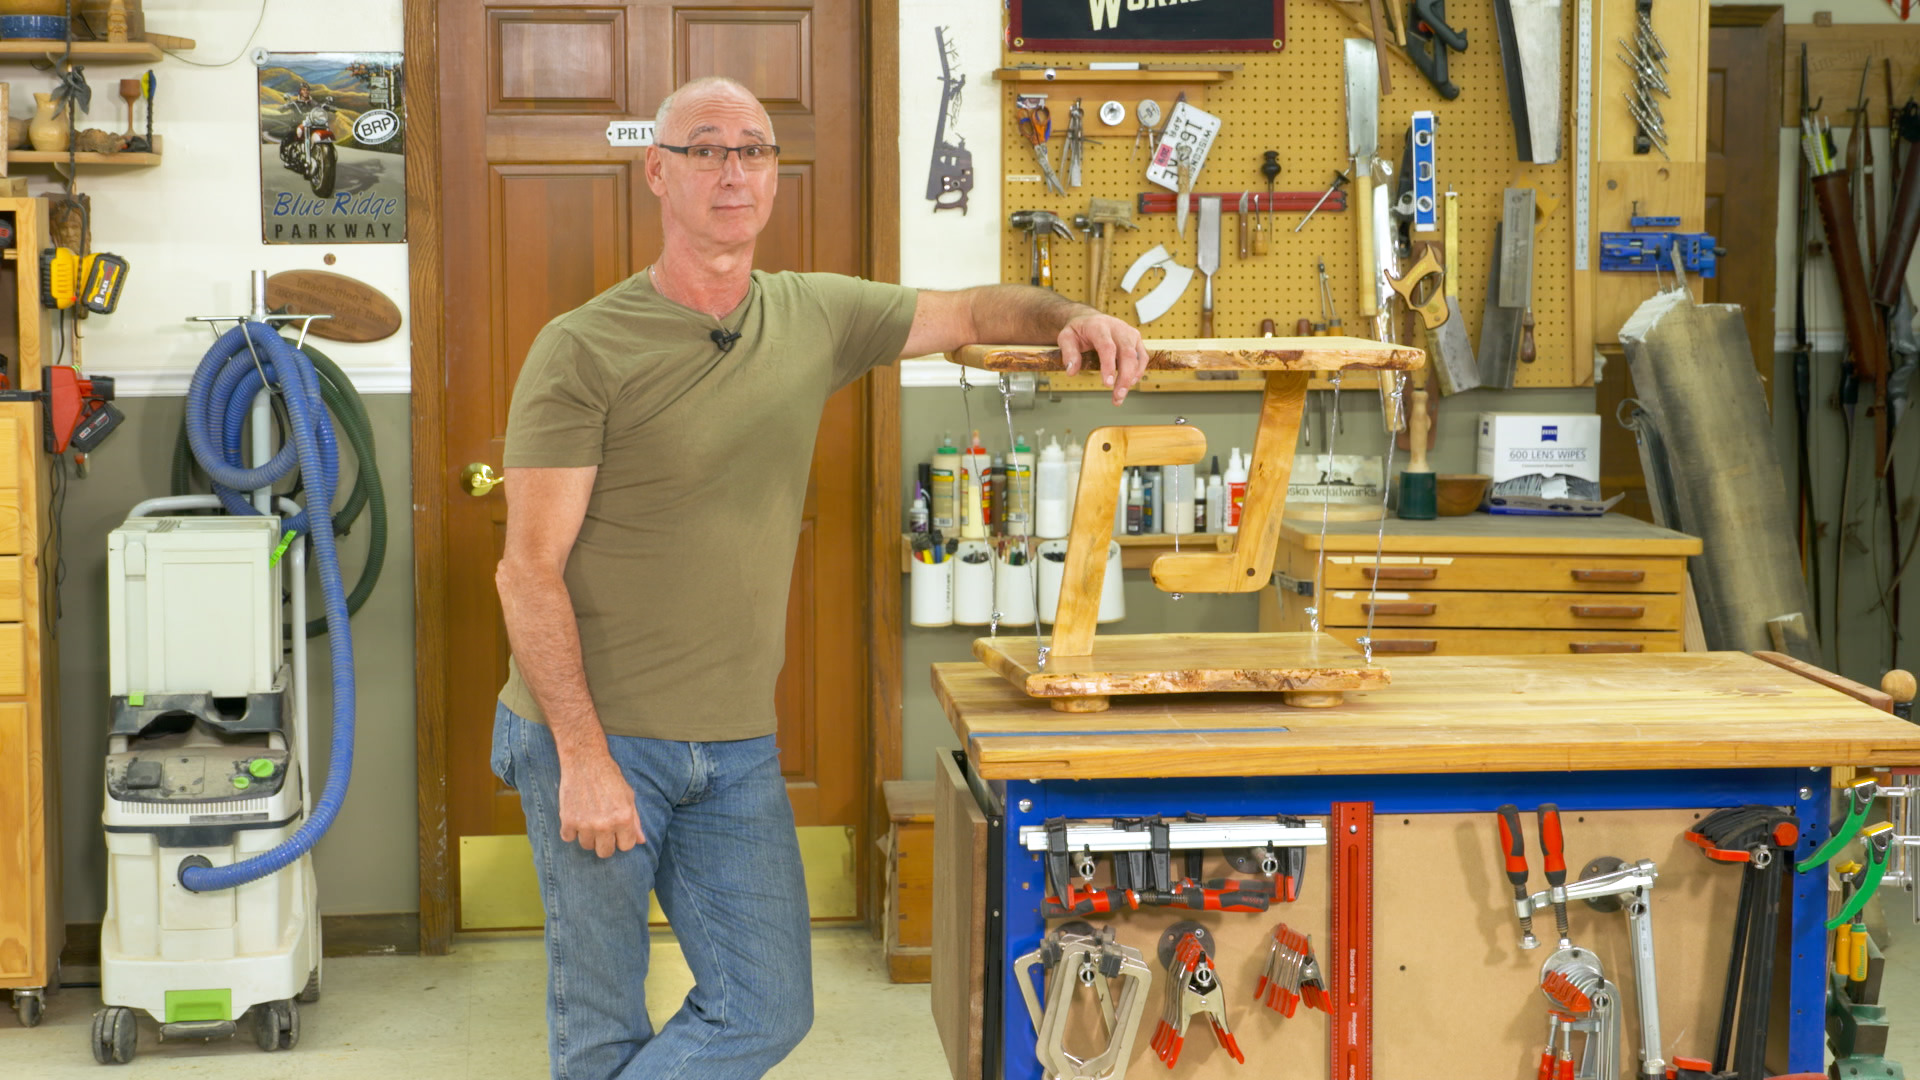
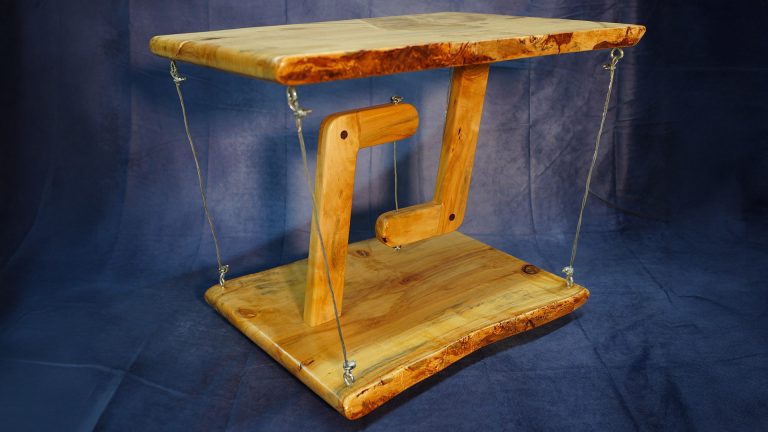
I’ve wanted to build an Impossible Table for a long time, and finally did it. These are also called Tensegrity Tables. They’re a great conversation piece because it looks like there’s nothing holding the table up.

My table uses live edge slabs for the top and bottom, and they add another visually interesting detail to the table. You could, alternatively glue up pieces to get the width of pieces you want for top and bottom.

Designing Your Table

I’ll take you through the thought processes I went through as I developed the hanger system for this table. You can apply that to the table you’re going to make.

The Hangers

You’ll hear me talk about the hangers over and over. They’re a very important aspect of the project because, in the end, the table is supported by the structure of the hangers.

Hardware

Cables and eye hooks bring everything together and, like a suspension bridge, are key to holding the Impossible Table up, and keeping it together.

Details

Feet give the table some lift off the floor, and a significant round over eases the corners to give the project a softer look.

George Vondriska

Formally trained in technology education, George Vondriska has been teaching woodworking since 1986. He has been the managing editor of Woodworkers Guild of America since 2007. In addition to classes at his own Vondriska Woodworks School, George teaches at woodworking shows across the country and has taught woodworking for the Peace Corps, Andersen Window, Northwest Airlines and the Pentagon.

George Vondriska

Bonus materials available after purchase

Get exclusive premium content! Sign up for a membership now!