
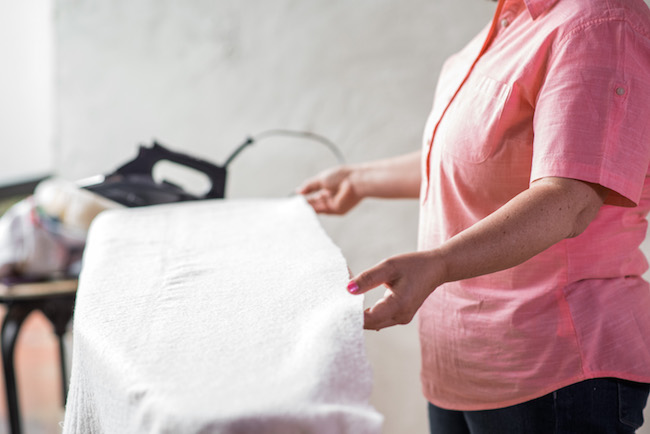
Have you ever heard a quilter say that basting is their favorite part of quilting? There are several methods for basing — many quilters swear by pin basting or using long, loose stitches for to secure their quilt sandwich — but the simplest method is spray basting
Read on to learn why spray basting is so easy and how to spray baste.
If you’ve ever tried spray basting, you may know that it’s a quick and effective way to baste your quilt backing, batting and top.
Basting spray, a repositionable adhesive specially formulated for fabric, is sold by the can in many craft stores and quilting shops. There are a few different types of quilt basting spray on the market. I recommend:
- June Tailor Quilt Basting Spray
- Dritz Basting Spray
- 505 Spray and Fix
To spray or not to spray?
Like most basting methods, spray basting has its pros and cons.
Pros of spray basting your quilts:
- It’s quick: With basting spray, it’s possible to baste a twin sized quilt in about 10 minutes without using a single pin.
- It’s effective: Quilters who swear by basting spray say it produces far fewer wrinkles than pin basting. Pin basting can introduce more wrinkles than spray basting.
Cons of spray basting your quilts:
- It can be dangerous: Unless you are spraying outside or in a well-ventilated area, the fumes from spray basting a quilt can be harmful to breathe in. Spray basting should be avoided all together if you are pregnant. You should also keep spray-basting cans away from a hot iron or open flames (and away from children, for that matter), since the substance is flammable.
- It can be more costly: A can of basting spray costs can cost as much as $13 for a 10-ounce can. Depending on how lightly your spray, many quilters can baste several quilts from one can.
How to spray baste your quilt
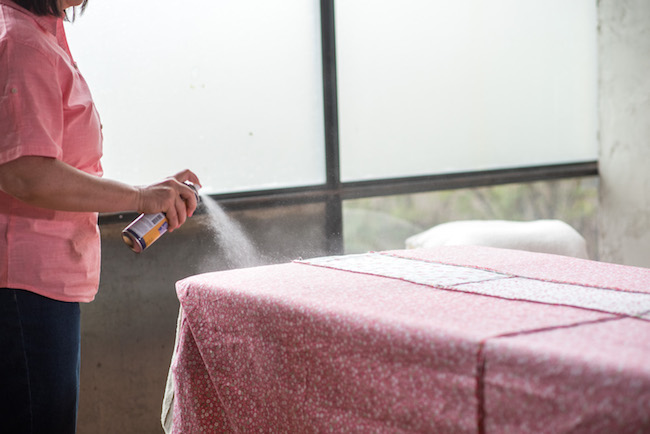
There are a few different ways to spray baste your quilt. This method requires the least effort in rearranging fabrics, and is ideal if you’re working just one one table.
To prepare your quilt top, batting and backing, make sure the batting is 2” wider than the quilt top on each side. The quilt backing should ideally be an additional 2” wider than the batting on each side.
Step 1:
On a large table outside, layer your fabrics in this order:
- The backing, with the wrong side up
- The quilt top, with the wrong side up
Leave the batting out of the way for now. This set up lets you quickly spray with minimal moving of fabric.
Step 2:
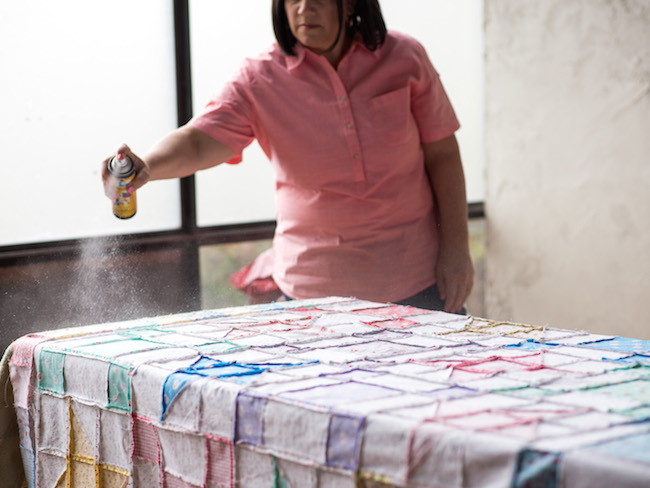
Spray the wrong side of the quilt top with spray adhesive. You’ll generally want to use a circular motion and hold the can about 12” above the surface, but check the instructions on your can.
Then, you can fold up the quilt top and store it out of the way. Don’t worry — the adhesive isn’t that sticky, so the top will easily unfold. Just be sure to fold it so the sticky side faces in, because you don’t want any debris sticking to the top.
Step 3:
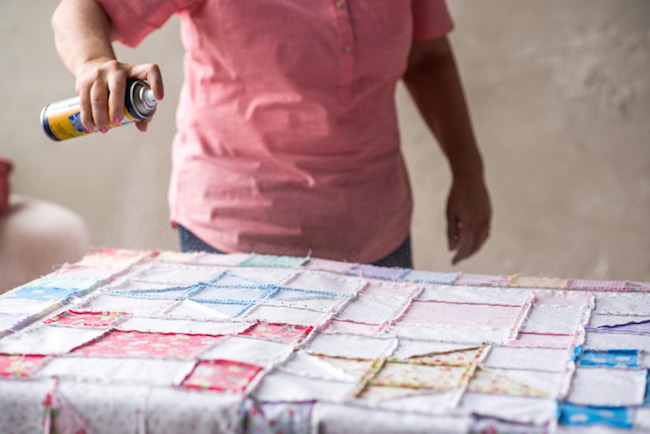
Once you’ve removed the quilt top, you should see the wrong side of the backing fabric. Apply spray adhesive all over the backing, as you did in the previous step.
When you’re done spraying, leave the backing in place. We’ll stack the remaining layers right on top of it.
Step 4:
Now it’s time to layer your batting over the backing.
If you hadn’t already, we recommend pressing your batting so that it’s totally wrinkle-free before you baste it.
Step 5:
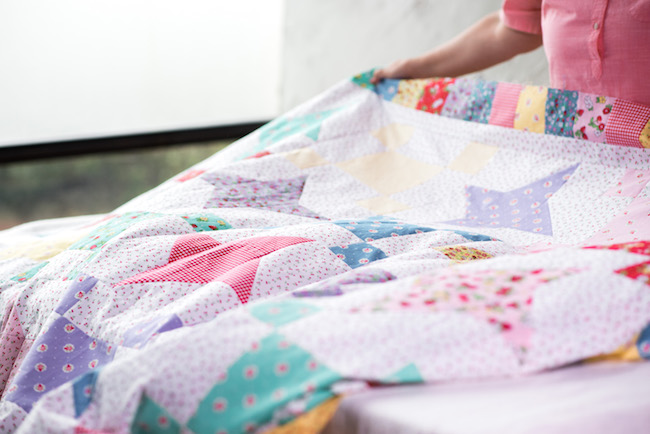
Finally, layer the sprayed quilt top, wrong side down, on top of the other two layers.
Step 6:
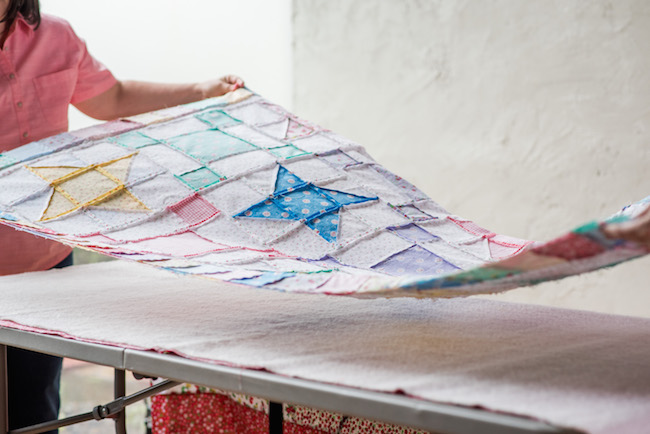
As we mentioned, spray adhesive isn’t super sticky — you can easily reposition your fabrics. Make sure your three layers are aligned, and look out for wrinkles. It’s easy to just pick up the section where you see the mistake, and place it again, smoothing out the fabric with your hand.
If you spray basted the quilt very lightly, you might try securing the layers with just a few safety pins.
Step 7:
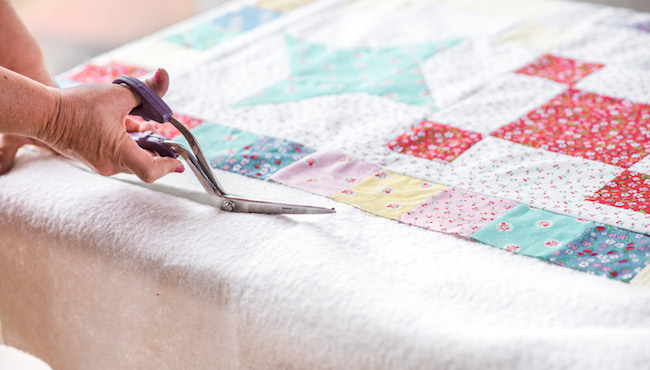
If you have excess batting, now is the time to trim it off.
Finally, take it to the sewing machine!
Spray Basting Tips & Variations
Save Your Lungs
If you are pregnant or worried about inhaling the fumes, try wearing a mask especially made for toxic fumes. Ashley at Film in the Fridge suggests wearing a heavy-duty mask if spray basting in the house.
Spray Outdoor
Rachel at Stitched in Color shares a method of spray basting your quilt outside with the help of a clothesline. You can do the dirty work outside and bring your sprayed batting indoors to complete the spray basting.
Save Your Floors
Tape newspaper pages to her hardwood floor before spray basting a quilt, to keep the floor from getting sprayed.
Skip the Tape
Worried about taping your floors? In a guest post at Chasing Cottons, Kristie suggests laying dumbbells on each corner of the batting to hold it in place. With four weights, your backing and batting shouldn’t budge.
Whether or not you’ve tried spray basting, I hope this gives you some new tips for basting your quilts!
Share tips, start a discussion or ask one of our experts or other students a question.
Already a member? Sign in
No Responses to “Spray Basting Your Quilts: A Step-by-Step Tutorial”